
Do you want to Add tooltips in posts and pages on WordPress ?
Tooltips are additional pieces of information that appear when the mouse hovers over certain words. It’s a useful way to make your content visible.
In this article, we will show you how to add WordPress hints in your posts and pages.
Why are adding hints showing in your WordPress posts and pages ?
The first thing you need to do is install and activate the WordPress Tooltips plugin.
To learn more, see our step-by-step guide on how to install a WordPress plugin.
Once the plugin is activated, there are several ways to add hints to your posts and pages.
The first is to automatically add tooltips to certain keywords.
Automatically add tooltips to keywords
To add a new tooltip, simply go to “Tool Tips” » “Add New” in the WordPress backend.
So start by adding a title, which will serve as the keyword for your tooltip.
The tooltip will automatically display whenever the keyword appears in your posts and pages, saving you time from
having to manually add tooltips to multiple locations throughout your website.
then If you want to display tooltips for other related keywords as well, you can add them in the “Synonyms” section on the right side of the screen.
If you add multiple synonyms, be sure to separate them with the pipe symbol | also .
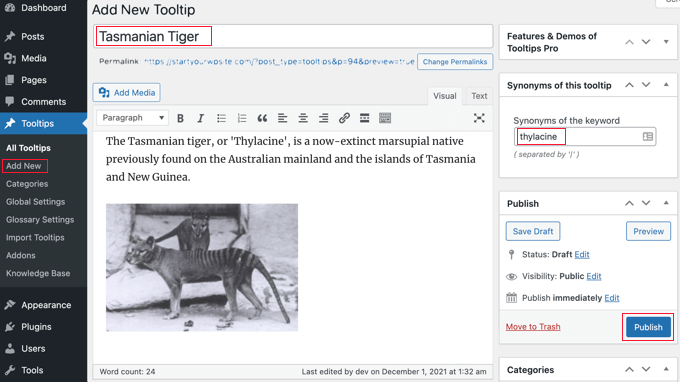
In the content section, add your tooltip content. The tooltip can consist of a few words or multiple paragraphs of rich content with images and other media. However, keep in mind that you are writing content for a tooltip, not for a full post, so keep it as concise as possible for easy reading on any screen.
Once finished, click the “Publish” button on the right side of the screen.
Your tooltips will now be automatically displayed on your posts and pages wherever the tooltip title and synonyms are found.

Add tooltips using the short code
Another way to add tooltips is to add a shortcode to the content of your posts and pages.
This method is suitable for shorter tooltips, or when you want to display the tooltip only once instead of each matching keyword on your website.
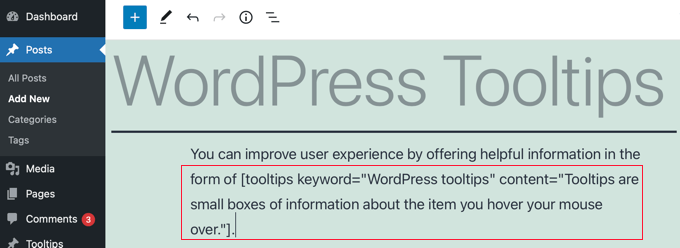
To add your own short tip code, you first need to create or edit the post or page where you want to add the tooltip.
Then you should add this shortcode where you would like to display the tooltip:
|
1 |
[tooltips keyword="YOURKEYWORD" content="YOURTOOLTIPCONTENT"] |
Simply replace YOURKEYWORD with the word or phrase you want to add the tooltip to, and replace YOURTOOLTIPCONTENT with the text you want to add the tooltip to.
Make sure to leave the quotes in the shortcode for it to work properly.
You can preview the page to see the tip in action.
This is how it appears on our demo site.

Build a glossary of your own tooltips
Each hint is a description of a key word, similar to what you would find in a dictionary or glossary.
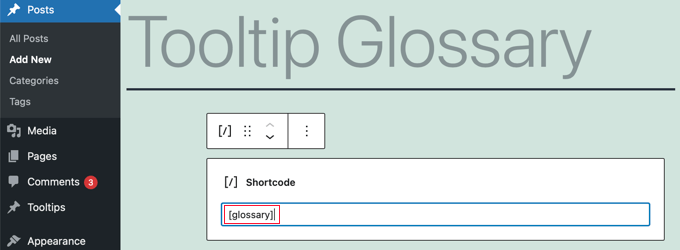
This is why the WordPress Tooltips plugin allows you to display a glossary of tooltips on your website.
Simply add the [glossary] shortcode to the post or page where you want your glossary to appear.
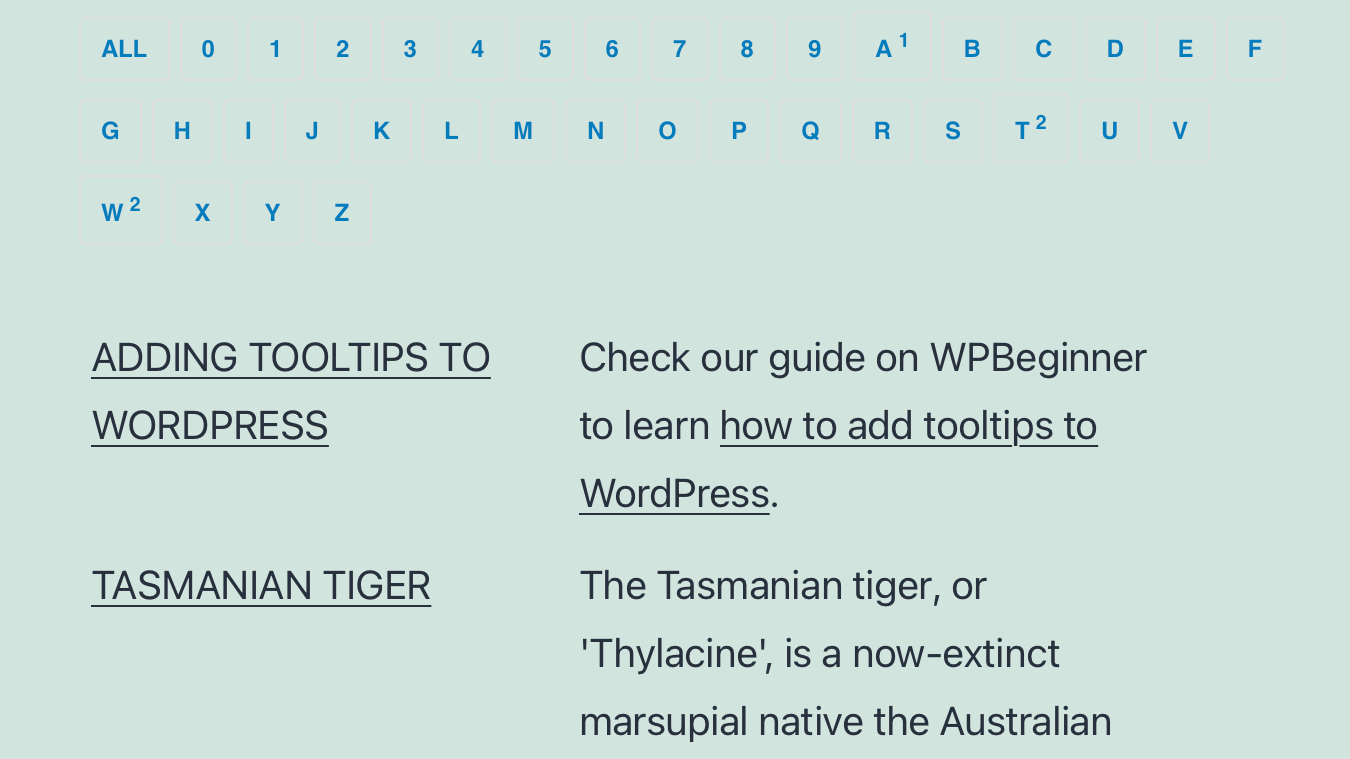
After your post or page is published, you can visit your website to see the glossary.
This is how it appears on our demo site. It includes the tooltips we added to the plugin’s hints list, but not the tooltips we created with the shortcode.
If you want to customize the glossary, you can do so from the Tooltips » Glossary Settings › menu in your WordPress dashboard.
Here you will find a number of options that you can modify about how the term list is displayed and what is included.
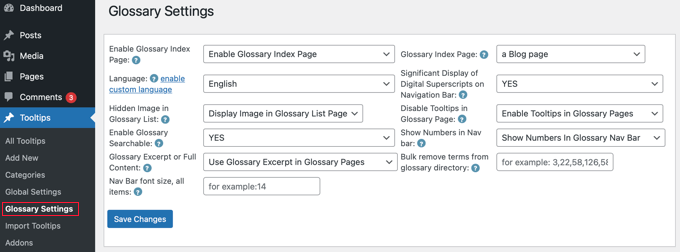
For example, you can choose whether or not to display images in the glossary.
We hope this tutorial helped you learn how to add hints to your WordPress posts and pages.