
Do you want to translate your WordPress website into multiple languages ?
Wondering where to start ?
In this article, we will explain how to easily create a multilingual WordPress website.
You don’t need to create multiple copies of your website to accommodate multiple languages. After reading this article, you will be able to translate your articles, categories, templates, and plugins, and have a fully multilingual WordPress website.
Let’s take a look at the common methods adopted by owners of multilingual WordPress websites.
The first method allows you to manually translate the entire content into the languages of your choice.
The second method doesn’t actually create a multilingual website but instead adds automatic translations to your existing content using Google’s translation service.
It goes without saying that manually translating your content is a much better approach. This allows you to maintain quality throughout your website. You can either translate the content yourself or hire professionals to do it for you.
If you don’t have the resources and still want users to be able to see the content in other languages, you can turn to Google’s translation service. This will add a language switcher for users to select a language, and the content will be translated using Google’s translation. The downside of this approach is that the translation quality won’t be great.
Let’s start by looking at building a multilingual WordPress website with manual translations.
Creating a Multilingual WordPress Website (Human Translation)
The first thing you need to do is install and activate the Polylang plugin.
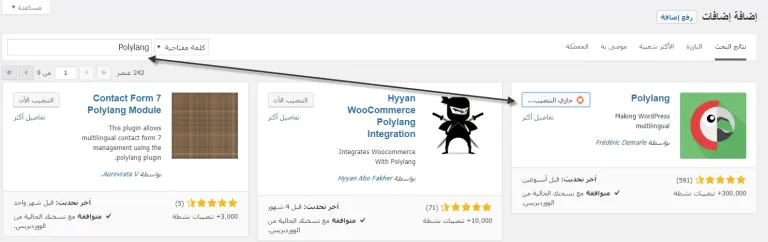
After activation, you need to visit Settings » Languages to configure the plugin settings.
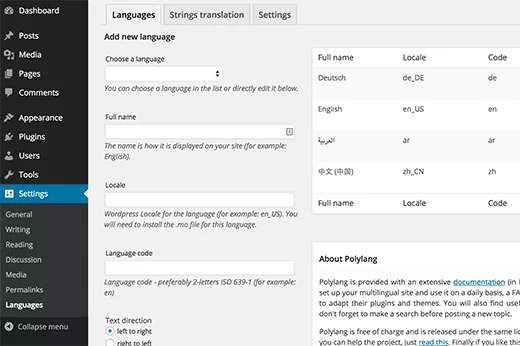
The language settings page is divided into three tabs. The first tab is labeled “Languages”. This is where you add the languages you want to use on your website.
You’ll need to add the default language as well as select any other languages that users can choose on your website.
After adding the languages, switch to the “String translations” tab. Here, you’ll need to translate the site title, description, and key phrases, and also choose the date and time format.
![]()
The final step in the configuration is the “Settings” tab. This is where you can choose the default language for your website and other technical settings.
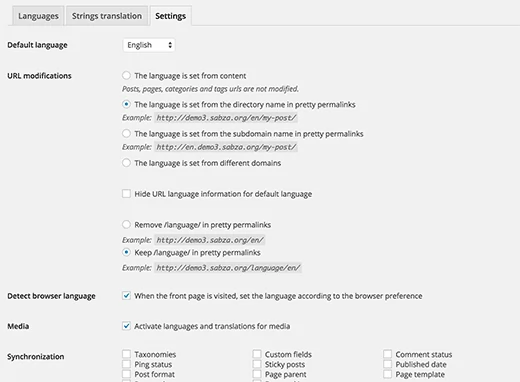
For most beginners, we recommend not changing the URL structure, so select the first option. Why? Because if you deactivate this plugin, it will break all those links.
For those looking to take full advantage of multilingual search engine optimization (SEO) enhancements, we recommend choosing the second option for permalinks as shown in the image above.
You should select the option to detect the user’s preferred language and automatically show them the content in their preferred language. By doing so, the user will see the content in their preferred language and can switch languages if needed.
Once done, click the Save Changes button to store your settings.
Adding Multilingual Content in WordPress Using the Polylang Plugin
Polylang makes it extremely easy to add content in different languages. Simply create a new post/page or edit an existing one. In the post editing screen, you’ll notice the appearance of a language switcher box.
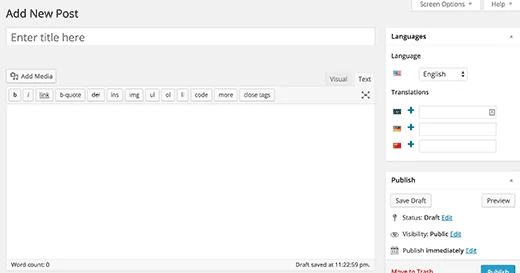
our default language will be automatically selected, so you can first add content in your default language and then translate it into other languages.
For translation, you need to click the + button next to a language and add content for that language.
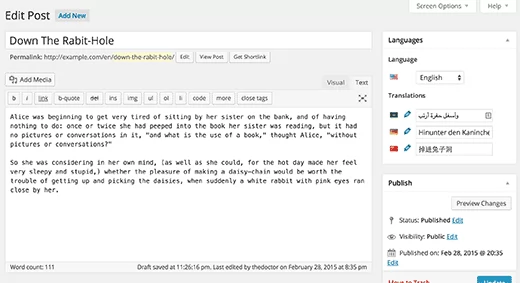
Repeat the process for all languages. Once done, you can publish your posts and pages.
It’s important to note that Polylang also works with custom post types, so it can definitely help you make your WooCommerce store multilingual.
Translating Categories, Tags, and Custom Post Types
You can also translate categories and tags, or any custom categories you may use.
If you want to translate categories, go to “Articles » Categories” or “Posts » Categories” if the control panel is in English.
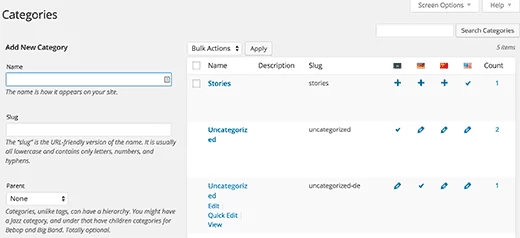
Add a category in your default language, then click on the collection icon for each language to start adding translations.
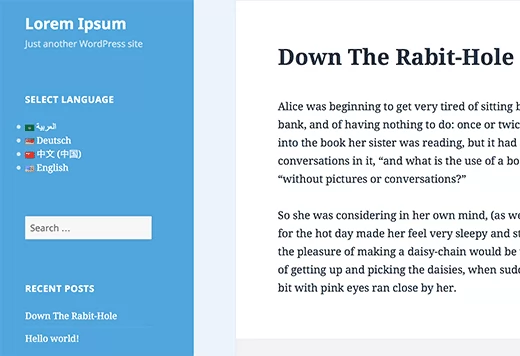
Display a language switcher on your site.
It’s time to allow your visitors to view your site in their preferred language.
Adding a language switcher allows users to select their preferred language when viewing your site. Polylang makes it extremely simple.
Just go to “Appearance » Widgets” and add the language switcher widget to the sidebar or to another ready-to-use area.
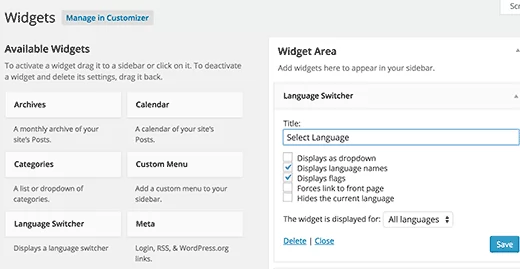
You can choose a dropdown menu or use language names with country flags. Once you’re done, click the save button to store the sidebar widget settings.
You can now preview your site to see the language switcher in action.
Using Google Translate to create a multilingual WordPress site.
While adding human translations leads to a better user experience, you may not have the resources or time to do so. In that case, you can try using Google Translate to automatically translate the content on your site.
The first thing you need to do is install and activate the Google Language Translator plugin. Upon activation, visit “Settings » Google Language Translator” to configure the plugin.
![]()
The plugin allows you to select the languages available for translation from Google. You can even remove the Google branding from the translation. This is a highly customizable plugin, so you’ll need to review the settings and configure them as desired.
That’s it! We hope this article helps you learn how to create a multilingual site in WordPress.