
Do you want to switch from Shopify to WooCommerce ?
Many users want to switch from Shopify to WooCommerce to avoid higher costs or have more control over their online stores.
In this tutorial, we will show you how to easily switch from Shopify to WooCommerce with step-by-step instructions.
Transition from Shopify to WooCommerce
Shopify and WooCommerce are two of the most popular e-commerce platforms .
Both of them allow you to create an online store, but they are completely different in many ways. For more information on this, see our comparison Shopify vs WooCommerce with the pros and cons of each platform.
For example :
Shopify is a fully hosted platform where you don’t have to worry about backups and updates. However, this comes with slightly higher costs and limited control over your website.
On the other hand, WooCommerce is an open source program that needs to be installed on your hosting. This means that you have more flexibility with your online store, and you can customize it exactly as you want.
Because of these differences, Shopify users often choose to switch to WooCommerce when they realize the real costs and limitations of this platform.
Unfortunately, Shopify does not provide an easy way to export data to a WordPress-supported format.
There are some Shopify to WooCommerce migration services, but they charge a fortune to do the work for you. Their prices for full migration vary depending on the number of products, customers, orders and other factors.
So we have built an easy import tool to help you do Shopify migration to WooCommerce for free.
However, let’s take a look at how Shopify can move to WooCommerce without using an expensive Migration Service.
Step 1. Setting up WooCommerce
Before migrating your Shopify store to WooCommerce, you will need to install and set up WooCommerce.
Unlike Shopify, WooCommerce is a self-hosted platform. This means that you will need a web hosting account and a domain name to set up WooCommerce.
We recommend using Bluehost . It is one of the largest WooCommerce hosting companies and is officially recommended by WordPress and WooCommerce.
After signing up for your hosting account, Bluehost will automatically install WordPress for you. You can access the WordPress dashboard from the dashboard of your hosting account.
Just click on the “login to WordPress”button.

This will take you to the WordPress admin panel.
Now you can go to extensions “add a new page and search for WooCommerce.
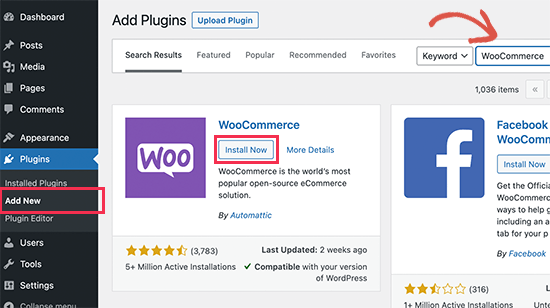
After that, click the Install Now button next to WooCommerce. WordPress will now install the WooCommerce plugin for you.
After that, the Install button will now appear with the name activate. You need to click the “Activate” button to continue.
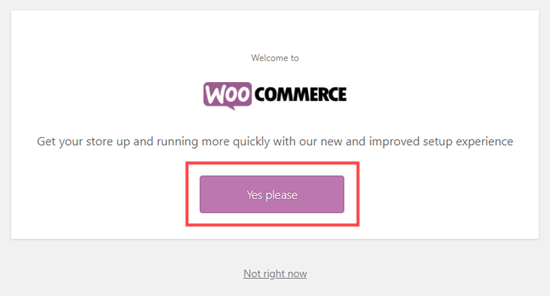
Upon activation, WooCommerce will show you a setup wizard where you can set up a payment gateway, enter your store information and other basics. Follow the on-screen instructions to set up your store.
Do you need help See our tutorial on how to start an online store for detailed step-by-step instructions on installing WooCommerce.
Step 2. Download your Shopify data
In the past, there was no reliable way to migrate Shopify to WooCommerce. There is no free migration tool to export your store data from Shopify and then import it to WooCommerce.
This means that you will either have to pay for an expensive service to do it for you, or you will have to prepare each product from scratch, one by one. You will also lose any previous customer data such as previous order information.
We decided to solve this problem and created Shopify for the WooCommerce source . It allows you to export your Shopify data in a standard format and later import it to WooCommerce using a companion plugin.
Best of all, it’s completely free!
Let’s show you how to migrate your data from Shopify.
First you need to visit the Shopify to WooCommerce website . From here , you need to enter The address for your Shopify website and provide an email address.
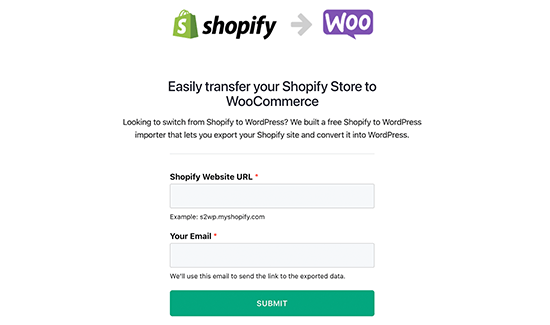
Click the “Submit” button to continue.
Shopify Shopify API key this will take you to the Shopify admin section of your store, where you will be prompted to install the application that will automatically generate the Shopify API key for data migration. Just click the Install App button at the bottom to continue.

On the next screen, the application will show you the data that it will issue using the Shopify API. It currently exports all product data, product categories, customer data and orders.
Note:
at the moment, the app does not export your Shopify pages or blog posts. You will need to manually import them to WordPress.
You will need to provide an email address where you will receive a link to download the export file.

Click the “start Export” button to continue.
The app will show you the progress of the migration process. Once finished, you will see the Download button. You will also receive an email with a link to the download file.
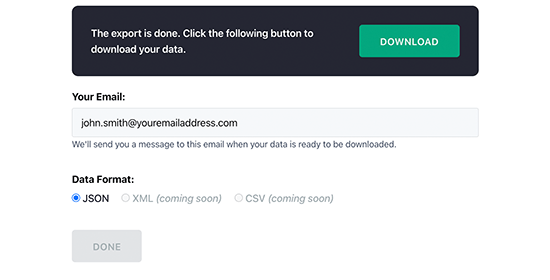
Now you can go ahead and download the export file to your computer.
Step 3. Import Shopify Data in WooCommerce
Now that you have exported your Shopify data, the next step is to import it to your WooCommerce store. Therefore, you need to switch to the administrator area of your WordPress site.
First, you need to install and activate the Import Shopify to WP plugin . For more details, see our step-by-step guide on how to install the WordPress plugin.
When activated, you need to visit the tools ” Shopify importer . From here, click the “Choose File” button to select the export file that you downloaded earlier.
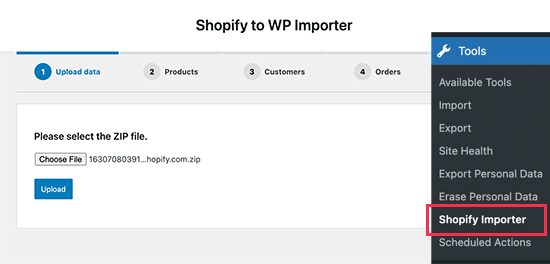
Click the “Download” button to continue.
After that, you will see a list of exported products that are in your upload file. Just click the “start Import” button to start importing them to your WooCommerce store.
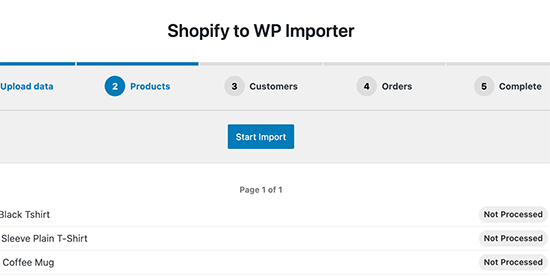
The plugin will now start importing your data. You will be able to see the progress of your download on the screen.
Once finished, you will be shown a list of WooCommerce extensions that it should have (all free) and that you can install to grow your WooCommerce store.
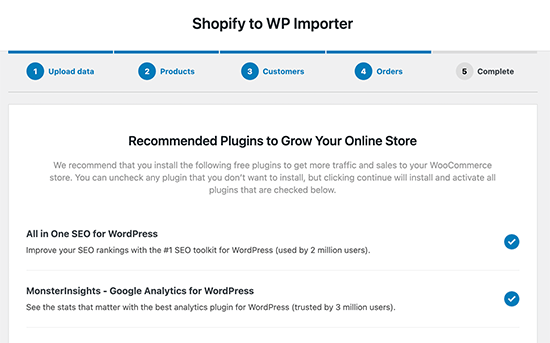
Click the “Continue” button to proceed further.
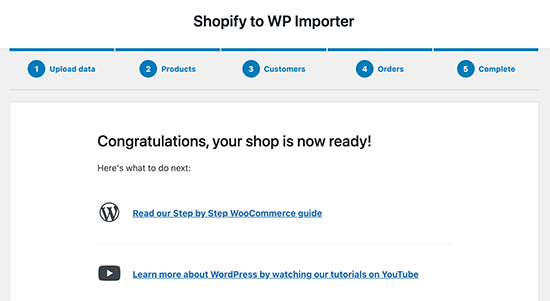
Now you can review the products, orders, order status and categories of imported WooCommerce products to make sure everything is imported.
Step 4. Customize your WooCommerce store
Now that you’ve successfully migrated your products, orders, and other store data from Shopify to WooCommerce, it’s time to finish setting up your WooCommerce store.
This includes choosing a design, installing add-ons for additional options and functions, choosing tools for growing your WordPress site.
1. Choose a theme (template) for your website
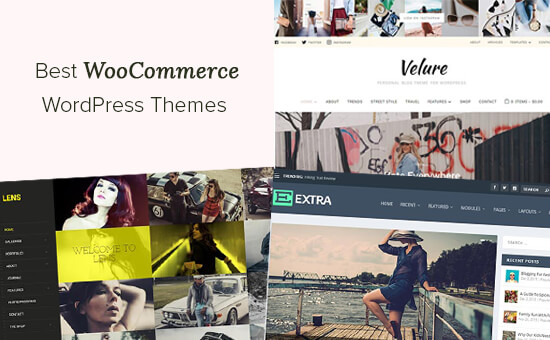
With the WooCommerce store, you can choose from thousands of WordPress themes. These professionally designed themes will make your WooCommerce store stand out, and they come with easy-to-use customization options.
Our favorite theme for WooCommerce is Astra, because it has many different templates and customization options so you can create a unique design.
If you need help choosing a theme, take a look at our carefully selected list of the best WooCommerce themes on the market.
2. Design your landing pages
Many store owners want to quickly create custom landing pages for their e-commerce site. For example, you might want to create a custom design for the Login or checkout page.
Fortunately, you can easily do this at WooCommerce.
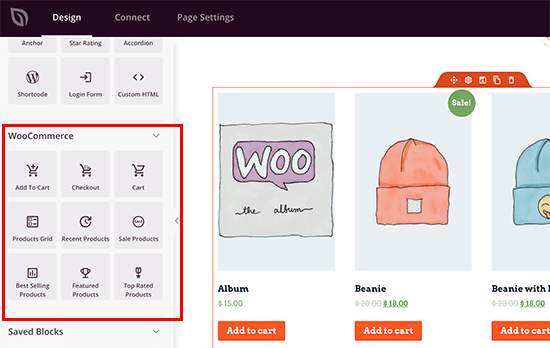
Simply install and activate SeedProd . It’s the best landing page plugin for WordPress and comes with dozens of beautiful templates and simple drag-and-drop tools to design your product pages.
You can easily add products to any landing page, create a custom checkout page, view product grids, and more.
3. E-commerce SEO optimization for e-commerce
Search engines are the largest source of traffic for most e-commerce sites. SEO optimization helps you get free traffic from search engines to grow your business.
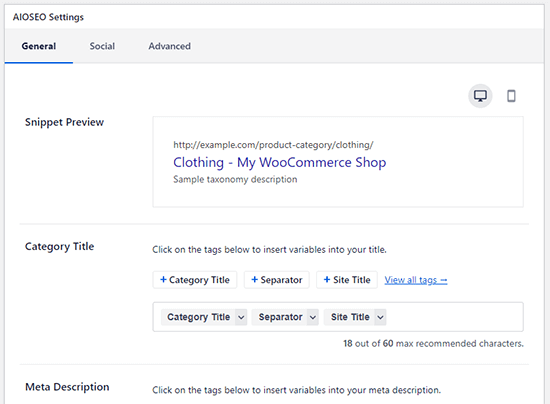
To improve your SEO and get more traffic, just install and activate the all in One SEO for WordPress plugin . It is the best WordPress SEO plugin that allows you to easily improve WooCommerce SEO without any special skills.

4. Setting up conversion tracking
Do you want to know where your customers are coming from and what they are looking for
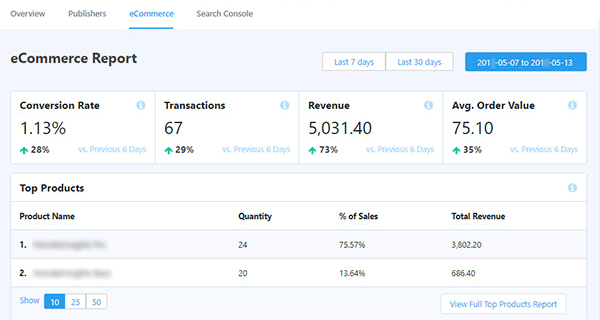
MonsterInsights helps you track WooCommerce users easily and provides complete eCommerce statistics. You can see your top products, conversion rate, average order value, and more, all from your WordPress dashboard.
5. Increase conversions and sales

Did you know that more than 75% of users leave an online store without adding products to their shopping cart or making a purchase
This is where OptinMonster comes in . It allows you to easily convert site visitors into subscribers and customers.
You can use OptinMonster to show target pop-ups, sliding pop-ups, countdown timers, header and footer logos, and more.
Step 5. Setting up redirects
Now that the WooCommerce store is fully set up, the last step is to set up the appropriate redirects from Shopify to WooCommerce.
Redirects automatically send search engines and visitors from your old Shopify website to the new WooCommerce store. This way, you won’t lose any customers if they end up on the wrong website.
If your store has a Shopify-branded domain name (for example: yourstore.myshopify.com), you cannot set up individual redirects. One of the easy solutions to deal with this is to add a link to your new store by editing your Shopify website.
Transfer your domain from Shopify to WooCommerce
If your Shopify store uses a custom domain name, you can direct it to the WooCommerce store and set up redirects.
To do this, you will need to change the DNS settings of your domain . The new hosting provider will provide you with the DNS server addresses that you need to enter in the settings of your domain.
Usually it looks like this :
ns1.bluehost.com ns2
. Bluehost .com
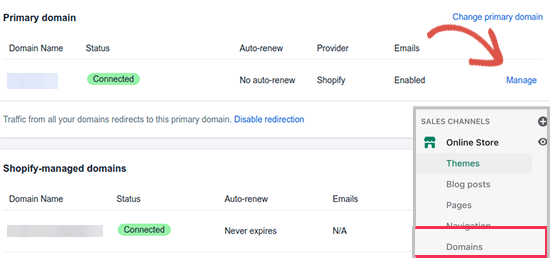
If your domain is registered via Shopify , you can log into your account and go to the المجالاتline Store “domains to manage your DNS settings.
Updated addresses of addresses in WooCommerce
After that, there may be headings headings in your product descriptions that still refer to the old Shopify-branded domain. Here’s how to easily update all these bulk titles in bulk, rather than trying to find them one by one.
Just install and activate velvet Blues update-plugin . For more details, see our step-by-step guide on how to install the WordPress plugin.
After activation, you need to visit the tools ” update URL page addresses. From here, you need to enter the U address of the Shopify store as the old URL and the WooCommerce domain name as the new URL…
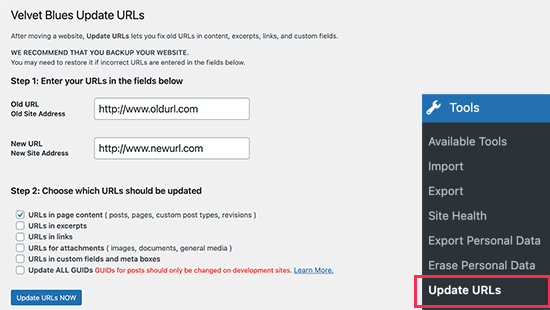
After that, just click the “update addresses URL Now” button at the bottom, and it will fix all your links across your site.
Once you update your URL addresses, you can uninstall the plugin from your site.
Setting up redirects for individual pages and publications
Finally, if you have any blog posts or pages, you want to redirect visitors and search engines to the right page.
First, you need to install and activate the redirection plugin .
Upon activation, you need to visit the tools ” redirection page. Just follow the instructions in the SetUp wizard to set up the plugin.
After that, you need to click the “add new” button to add your first redirect. Simply provide THE title of the publication or page in the source Title field, then enter the new URL title in The target Title field.

Do not forget to click the “add redirect” button to save the changes.
That’s it! You have successfully set up your new WooCommerce store.
We hope this article helped you in the transition from Shopify to WooCommerce.