
Do you want to add web notifications to your WordPress site ?
Push web notifications allow you to send messages to users even when they are not visiting your website. This helps you bring users back to your website, increase traffic, and earn more money.
In this article, we’ll show you how to easily add web notifications to your WordPress site.
What are web notifications ?
Web notifications are short clickable notification messages that appear as a pop-up window on the desktop or mobile devices of users.
They appear on top of the desktop or in the notification area on their mobile device. The best thing is that they can be viewed even when the user’s browser is not open.
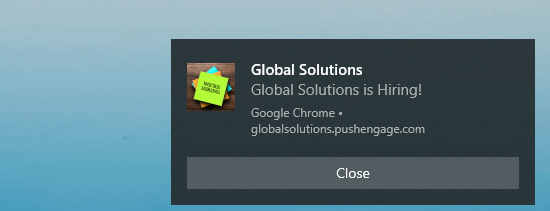
Here is an example of a push notification in Windows 10 :

Push notifications allow you to reach users across devices with the latest updates and offers. Web push notifications are a very effective way to turn website visitors into loyal followers and customers.
Why add web notifications to your WordPress site ?
Did you know that 70% of people who leave your website will never return That’s why you need to convert these website users into subscribers or customers.
You can do this by using multiple channels simultaneously. This includes email marketing, social media, mobile or SMS marketing, and web push notifications.
Email lists are still the most powerful marketing tool available. However, we find that push notifications are also very effective.
Here are some reasons why web notifications are a great marketing tool :
- Users need to give their explicit permission to receive push notifications. This means that they are already interested in what you have to offer and are more likely to react to notifications .
- Push notifications are shorter and require less attention than email or social media updates.
- There is no algorithm like on social media to limit your access. Almost 100% of letters are delivered.
- Users can control how their device displays notifications. They can postpone them or turn them off altogether.
- Many companies do not use push notifications .
Popular sites including Facebook, Pinterest, LinkedIn and many others understand the importance of this. They are already using web notifications.
Push notifications have a 50% higher open rate than email and a click-through rate multiplier. They are more attractive than SMS, email marketing and social media platforms.
Having said that, let’s take a look at how to easily add web notifications to a WordPress site .
Setting up web notifications in WordPress using PushEngage
PushEngage is the best market service. It allows you to easily add push notifications to your WordPress site.
Create your PushEngage account
First, you need to go to the PushEngage website and click the “get started for free”button :
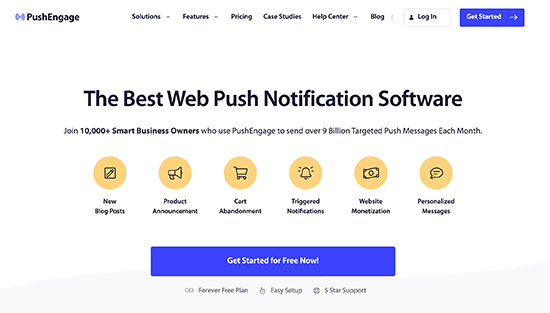
The free plan covers up to 500 subscribers and 30 notification campaigns every month. You will need to upgrade as you get more subscribers and need to send more campaigns.
After selecting the pricing plan, you will need to create a PushEngage account. You can use your existing Google account to register or create a new one.
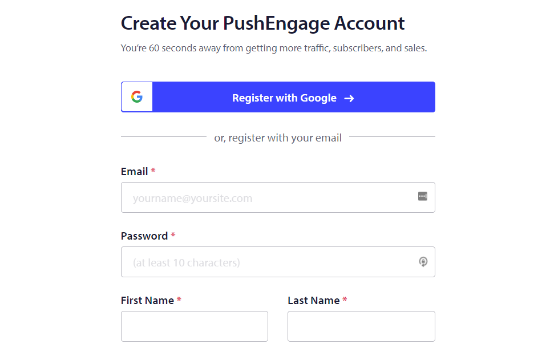
When registering, you will get to the PushEngage dashboard. If you register with your Google account, PushEngage will prompt you to enter your website details :
Your photo must be in PNG or JPG file format and the recommended size is 256 × 256 pixels. This picture will be displayed in your push notifications.
You have now completed the basic information for your PushEngage account.
Link your WordPress site with PushEngage
The next step is to link your website to PushEngage.
To do this, you need to add PushEngage WordPress . For more details, see our step-by-step guide on how to install plugins in WordPress .
Once the plugin is activated, head to PushEngage from your WordPress admin panel. After that, click on the “Setup” tab at the top. The plugin will now ask you to enter the API key .

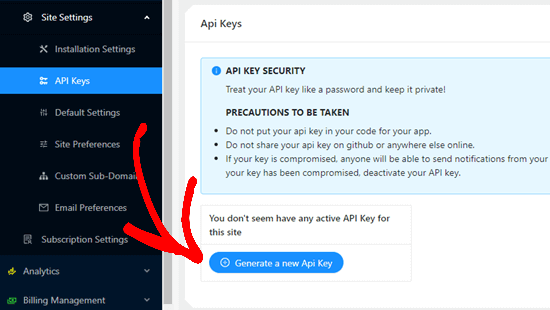
To get your API key, just go to the Settings “Location settings” API keys in the PushEngage dashboard. After that, go ahead and click on the button “create a new API key” :
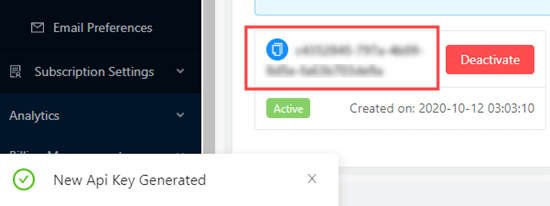
You should then see your API key.
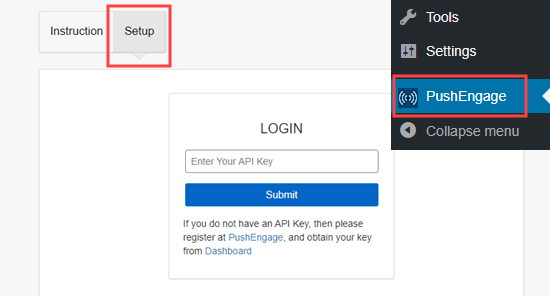
After that, you have to enter the API key in the PushEngage extension. To do this, head to your WordPress dashboard and go to PushEngage. Then click on the “Setup”tab.
You will see a box for your API key. Just enter your API key here and click the “Submit”button.
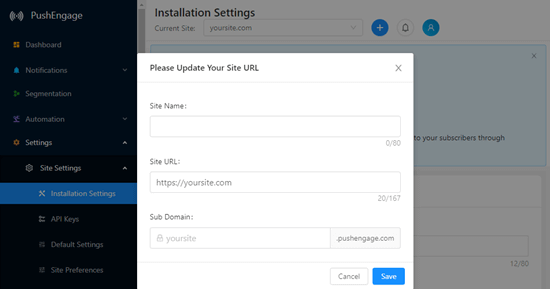
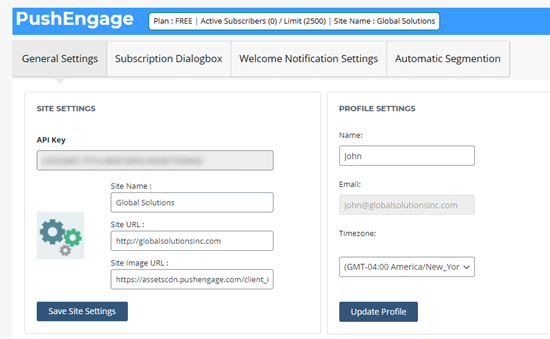
Now, you will see your PushEngage settings. Make sure you are satisfied with the general settings. You can change your account details here or on the PushEngage website:
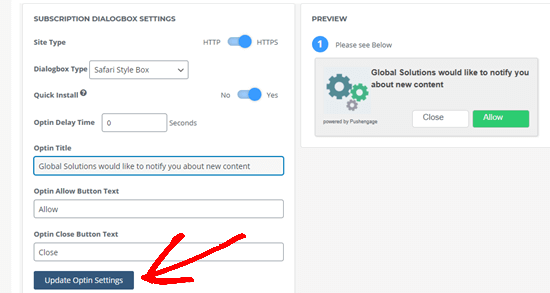
It’s time to prepare the message that people will see when they arrive at your website. Just click on the “subscription dialog” tab to view and change the settings.

You will see your logo in the message, as well as the default text. You can change this to your own message. Do not forget to click the “update Optin Settings” button to save the changes.
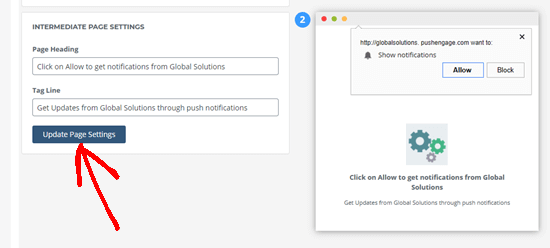
Below this, you can change the message that appears on the intermediate page. This is the page that appears after the user first clicks on Allow.
Note :
you cannot change what appears in the browser pop-up box. This will always contain the text” show notifications ” as well as the Allow and block buttons.
Just type the text you want to use. Then “update page settings”.
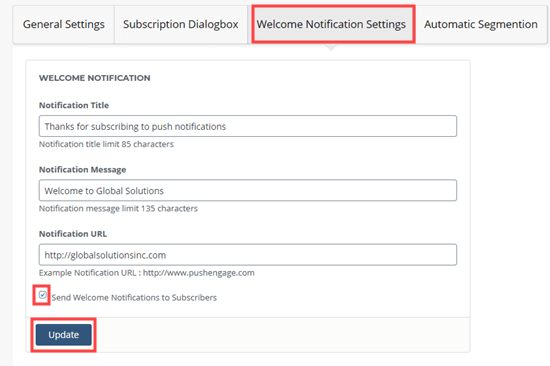
Just click on the “welcome Notification Settings” tab to set it up.
Here, you need to write the address and message for the welcome notification. You can use your home page as a address, or you can send users to a specific page.
Be sure to check the “send welcome notifications to subscribers” box to activate welcome notifications. You also need to click the “update” button to save the changes.
Testing web notifications on your website
Once the push notifications are set up, it’s best to check that they are working as you expect.
To test notifications, open your website on your computer or phone.
You should immediately see the subscription dialog box that you have set up. Here’s what we have on the desktop computer :
And here is our subscription dialog on a mobile device :

Go ahead and click on the “Allow“button.
You will then see the intermediate page in a pop-up window. Here’s how it looks on the computer :
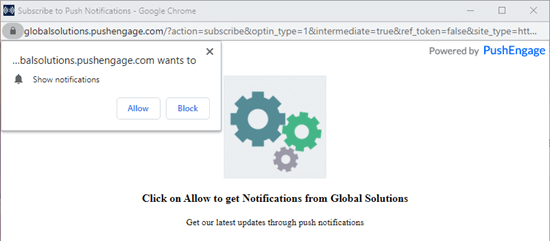
You need to click” Allow ” here too .
Now, you have successfully subscribed to notifications from your site.
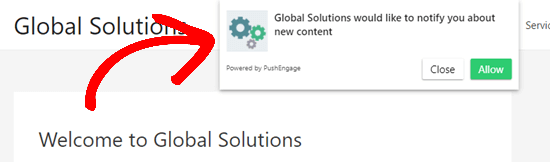
The welcome notification should appear on your screen within a few minutes. Here’s our message, which displays the welcome message we created earlier :

What if the user chose not to enable notifications but wanted to subscribe later This is automatically enabled with PushEngage. The user will see the bell widget in the lower right corner of your website :
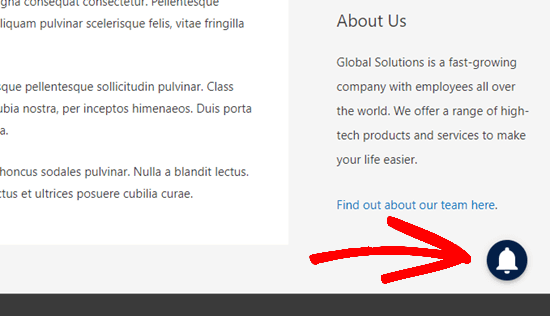
They can simply click on this to subscribe to your website.
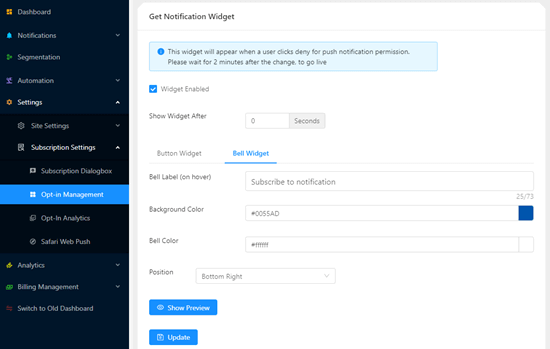
To change the bell notification widget, just go to the settings >>subscription settings>> subscription management of your PushEngage account.
You can change the color, position and name of it :
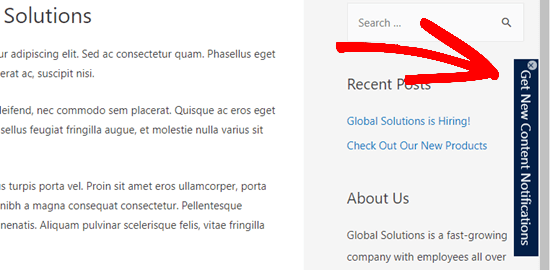
You can even toggle the bell with the button that appears along the side of the website like this:
Send web notifications to your subscribers
By default, PushEngage will send a notification for each new post. These web notifications will include the title of the publication and a small copy of the featured photo. When the user clicks on the notification , he will be directed directly to your blog post:
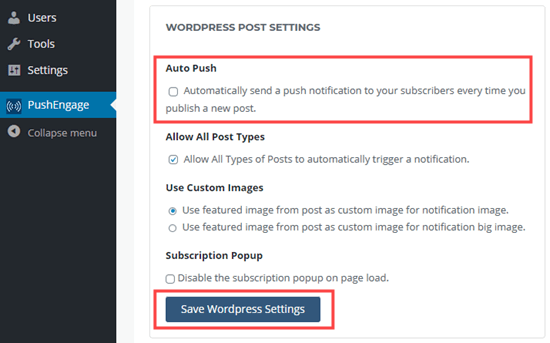
If you don’t want automatic notifications, you can turn them off by visiting PushEngage “general settings in your WordPress dashboard.
Just scroll down to the >>WordPress publishing Settings section and uncheck >> the auto payment box . Do not forget to click on the “save WordPress Settings”button.
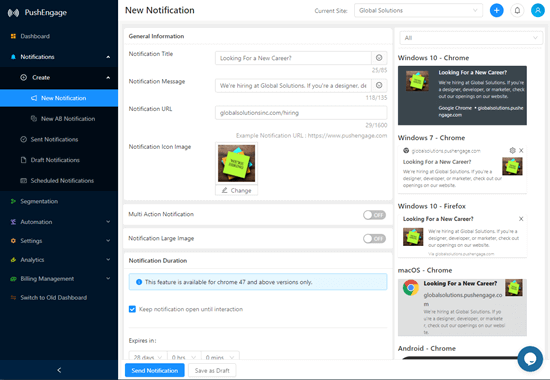
You can create custom notifications at any time in PushEngage. Just log in to your account on the PushEngage website and then go to notifications >> create >> a new notification .
This screen gives you the option to set the title, message, title URL, image and more. You can schedule notifications to come out later or you can send them immediately.
Advice :
If you are pre-scheduling notifications, make sure your time zone is correct. This is easy to check or change under the Settings >> Location settings >> location preferences in your account on the PushEngage website.
We have created a special notice for our blog post with a custom title and message.
Other PushEngage features to use on your website
PushEngage offers a wide range of other features, even in the free plan.
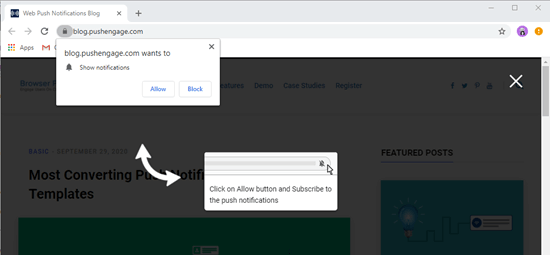
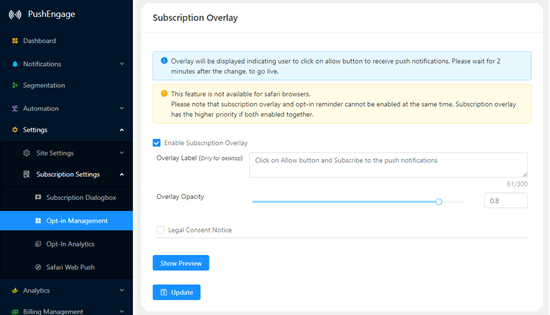
For example, you can prepare an overlay. This shows the top of your website content and shows the user where to click to allow notifications. Here’s an overlay in action on the PushEngage website
You can set up an overlay in your account on the PushEngage website. Just go to the settings >> ubscription settings >> subscription management and scroll down to the “subscription overlay“section.
Next, select the Enable subscription overlay >> button. You can use the default overlay label or write in a different label:
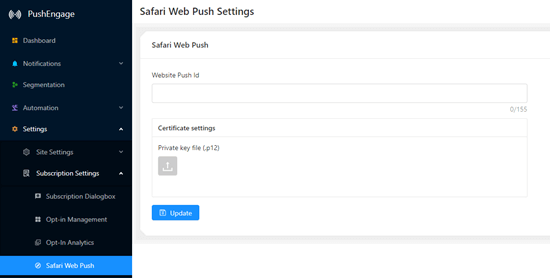
Due to the way the Safari browser works, you need to follow some additional steps if you want Safari users to be able to subscribe to your push notifications. To enable push notifications on the web for Safari, you need an Apple Developer account (99 dollars per year). You can then create a unique Push ID for your website.
Once you have your Push ID and created a certificate, you will then need to add these under Safari Web Push’s >> subscription settings >> settings :
Other good plugins for web notifications for WordPress
It is important to choose the right web service from the very beginning. Many providers are trying to lock you into their platform.
This means that changing the push notification service may mean losing your subscribers. So, if you switch, you will start from scratch again.
That is why we suggest that you ask the provider of your choice for all the settings that you need to configure to make your subscriber list transferable.
We recommend using PushEngage because it has a generous free plan as well as a lot of powerful paid features. With paid PushEngage plans, you can:
- Set up an automated drip responder, such as a welcome campaign
- Send notifications when the user abandons his cart
- Launch campaigns based on the actions of users
- Allow users to add product alerts when a product goes on sale or is back in stock
WordPress is all about options. Here are some other WordPress push notification plugins that you might want to try:
- PushCrew – links your website to the PushCrew notification service. They offer a free plan limited to 2000 subscribers.
- PushAlert – helps you connect to the pushalert notification service on the web. They also offer a free plan limited to 3,000 subscribers.
- PushAssist – the connector plugin for the pushassist web notification service. Their free plan is limited to 2000 subscribers.
- OneSignal – has a limited free plan that includes basic web push notification features. Coming up.
We hope this article helped you learn how to add web notifications to your WordPress site.