

Do you want to accept Apple Pay on your WordPress website?
Over the past few years, Apple Pay has gained significant popularity, and there are now several easy ways to offer Apple Pay as a payment option on your website.
In this article, we’ll explain how to accept Apple Pay in WordPress.
Why Accept Apple Pay in WordPress?
If you’re selling products or services on your WordPress site, it’s essential to allow visitors to pay with their preferred method. Often, this means using a credit card, but newer methods like Apple Pay and Google Pay have become more common. Apple Pay now holds over 40% of the mobile payment market in the United States, making online payments simple.
However, it’s worth noting that Apple Pay can only be used for online payments from the Safari browser on Mac or iOS devices.
With that said, let’s take a look at how to accept Apple Pay on your online store.
How to Accept Apple Pay in WordPress ?
The first thing you need to do is install and activate the “WP Simple Pay” plugin. For more details, refer to our step-by-step guide on how to install WordPress plugins.
WP Simple Pay is one of the best WordPress plugins for invoices and payments among small business owners because it’s simple and powerful. The best part is that WP Simple Pay doesn’t impose any additional transaction fees, and you can set it up without a complicated shopping cart system.
While there is a free version of the plugin available, you’ll need the Pro version to accept Apple Pay and create payment forms on your site, among other features.
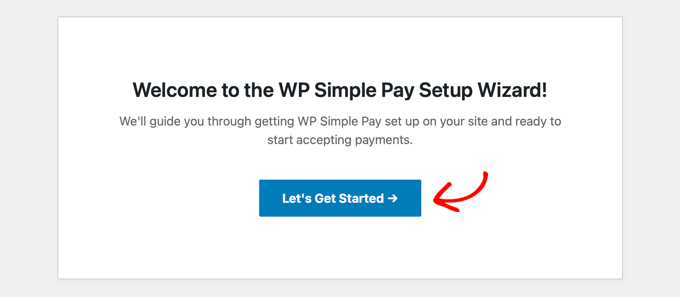
Once activated, the WP Simple Pay setup wizard will start automatically. Simply click the “Let’s Get Started” button to proceed.
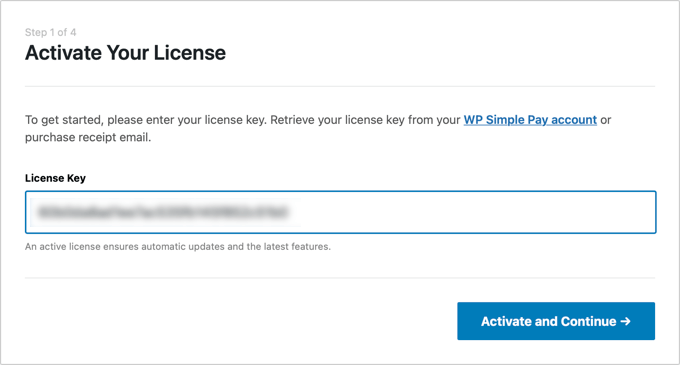
First, you will be asked to enter your license key.
You can find this information from your WP Simple Pay account on the website.
After that, you need to click the “Activate and Continue” button to proceed to the next step.
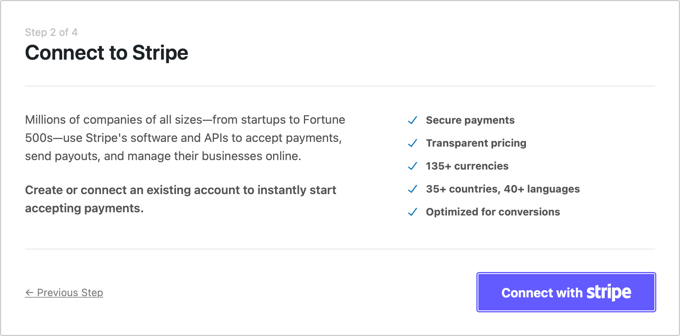
Now you will need to connect WP Simple Pay to Stripe .
Stripe is a popular payment gateway, and it’s the easiest way to add Apple Pay to your WordPress site.
It also supports all credit and debit cards, Google Pay, and more. Simply click the “Connect with Stripe” button, and from there you can sign into your Stripe account or create a new one.
Anyone with a legitimate business can create a Stripe account and accept payments online.
Note :
Stripe requires your website to use SSL/HTTPS encryption. If you don’t already have an SSL certificate for your website, please refer to our step-by-step guide on how to add SSL in WordPress.
Once connected to Stripe, you will be asked to configure the email messages for WP Simple Pay.
Email options for payment and invoice notifications to your customers have already been enabled. This includes the option to send email notifications for payment alerts.
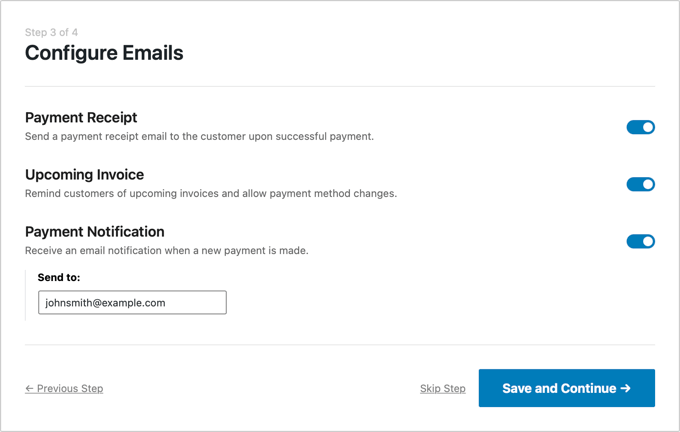
You just need to enter the email address to which the notifications should be sent.
Once you do this, you need to click the “Save and follow” button to complete the WP Simple Pay set.
To create a payment form in WordPress:
After that, you need to create a payment form.
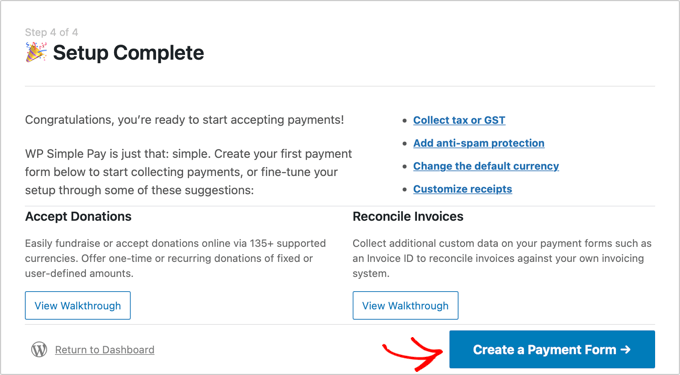
You can start by clicking the “Create Payment Form” button on the last page of the setup wizard. This will automatically take you to “WP Simple Pay » Add New Page.”
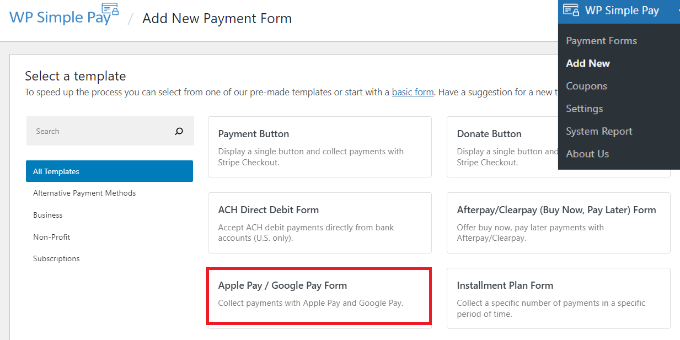
WP Simple Pay offers different templates for payment forms. Go ahead and select the “Apple Pay / Google Pay Form” template.
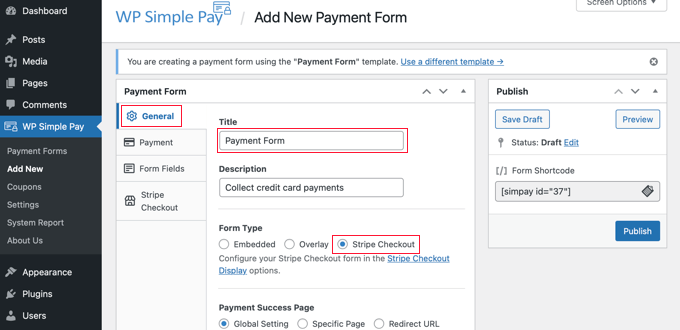
You should start by giving the payment form a name and description.
After that, you can choose which type of form you want (Embedded, Overlay, or Stripe Checkout). In this example, let’s select the “Stripe Checkout” option under Form Type.
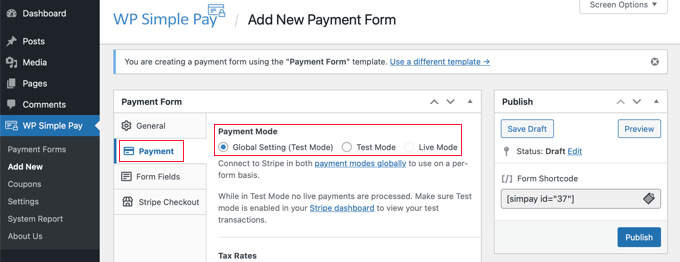
After that, you need to click on the “Payment” tab. Here, you can set the payment mode to either “Live” or “Test.”
The test mode will allow you to make test payments that are not actually charged by Apple Pay, so you can ensure that your form is working correctly and email notifications are being sent.
Remember to change this to “Live” when you finish testing and are ready to start receiving payments from your customers.
You can also add the products or services you offer, along with their prices and whether they are one-time payments or subscriptions.
An example price option should already be created for you. You can simply modify this price and click on the “Add Price” button to add as many prices as you want.
For each price, you will need to add a label and the price amount. You can also specify other options, such as whether the price is a subscription or whether the user can enter a custom amount, as in the case of donations.
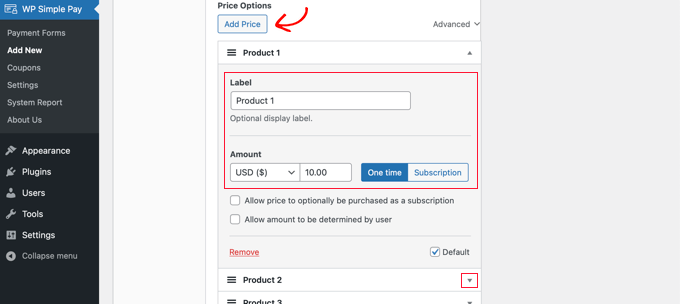
You can show or hide the price by clicking on the small arrow located on the right.
After that, we’ll move on to the “Form Fields” tab. The basic fields have already been added to the form, and you can add more if needed.
Using the “Form Fields” dropdown menu, you can select additional fields and add them by clicking the “Add Field” button. Options include Name, Phone Number, Address, and much more.
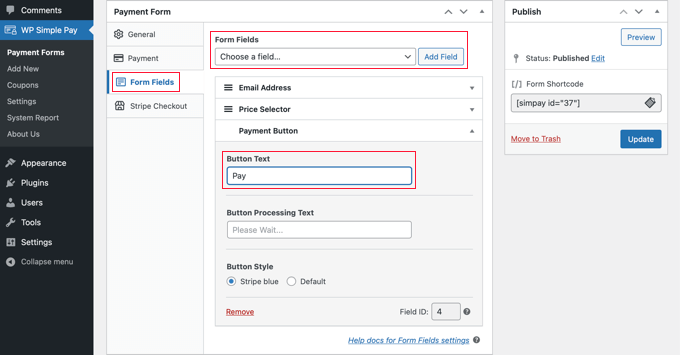
The default text on the button is “Pay with Card.” If you prefer, you can change the text to something more generic, like “Pay Now.” This way, your customers won’t assume that credit cards are the only payment option.
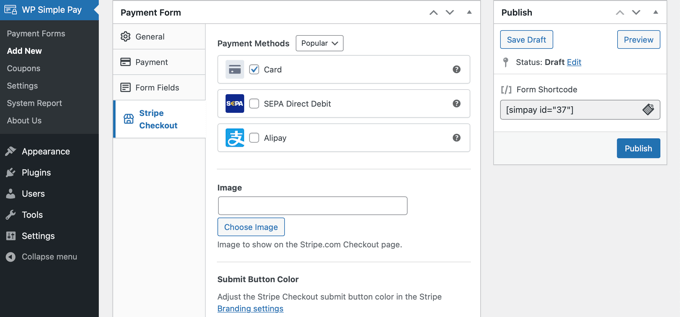
Finally, the “Stripe Checkout” tab allows you to select additional payment methods and customize the checkout form displayed after the user clicks the “Pay” button.
In this tutorial, we’ll leave these settings as they are.
Once you are satisfied with your payment form, click the “Publish” button to save your settings and make the form live.
Now, we can add the payment form to a post or page on your website.
Adding the Payment Form to Your Website:
WP Simple Pay makes it incredibly easy to add forms anywhere on your website.
Simply create a new post or page, or edit an existing one. Then, click on the plus sign (+) at the top and add the WP Simple Pay block in the WordPress block editor.
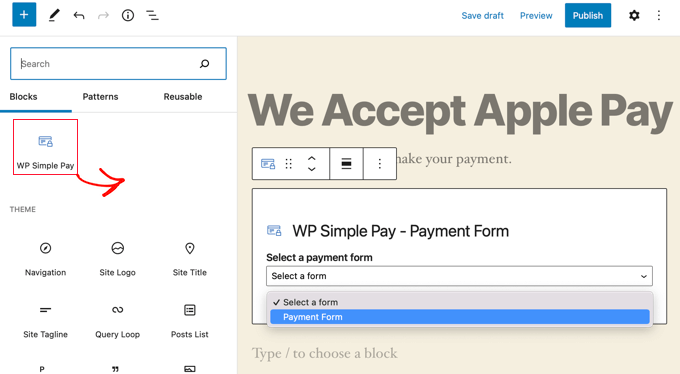
After that, select your payment form from the dropdown menu inside the WP Simple Pay block.
Once you’re done, you can update or publish the post or page, then click the preview button to see your payment form in action.
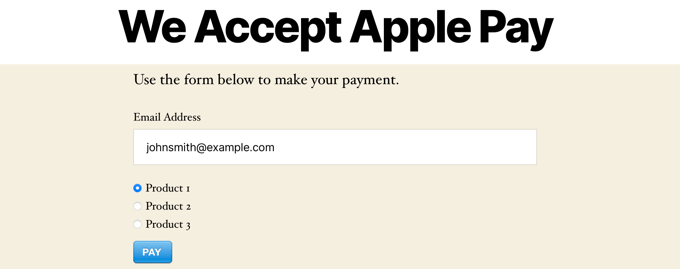
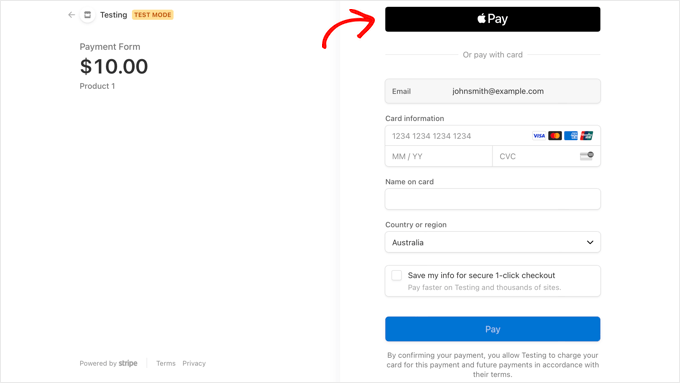
Exactly! When users click the “Pay” button, the Stripe Checkout form will be displayed.
If they are using Safari browser on a Mac or an iOS device like an iPhone, the Apple Pay option will be shown at the top of the form. Otherwise, the Apple Pay option will be hidden, and your customers can pay using their credit card. This provides a seamless and convenient payment experience for your customers, depending on their device and preferences.
If you are looking for other ways to add Apple Pay in WordPress, you can use complete ecommerce solutions like Easy Digital Downloads or WooCommerce.
Both support Apple Pay and Google Pay options.
We hope this tutorial helped you learn how to accept Apple Pay in WordPress.