
Do you want to add Custom CSS to change the look and feel of your WordPress site.
Adding custom CSS helps you change the layout and appearance of your website, which is not possible through the default options. Using FTP is very confusing for most beginners, but there are other ways to add custom CSS.
In this article, we’ll show you how to easily add custom CSS to your WordPress site without editing any theme files.
Why add custom CSS in WordPress ?
CSS is an acronym for Cascading Style Sheets and is a language that helps you design your WordPress site . CSS and HTML are used together where CSS is used to design different HTML elements such as color, size, layout and width.
Adding custom CSS helps to customize the design and appearance of your site, which is not possible through the default options. It gives you more control, and you can easily make changes to your WordPress template with a few lines of code.
For example, let’s say you want to change the background color for each individual post instead of using the same color throughout the website. By adding custom CSS code, you can customize the background of a particular post or page.
Similarly, you can change the style and appearance of product categories in your eCommerce store using additional CSS.
Having said that, let’s take a look at the different ways you can add custom CSS to your WordPress site.
The first : add custom CSS using the theme customization tool
Since WordPress 4.7 was released, users can now add custom CSS directly from the WordPress Management Area. This is very easy, and you will be able to see the changes through the live preview immediately.
First, you need to head to the Theme ” Customize the page from your WordPress dashboard.
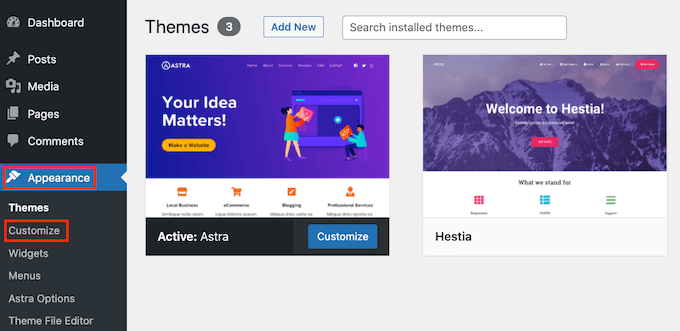
This will launch the WordPress theme customization interface.
You will see the live preview of your site with a bunch of options in the right pane. Click on the “additional CSS” tab from the left panel.
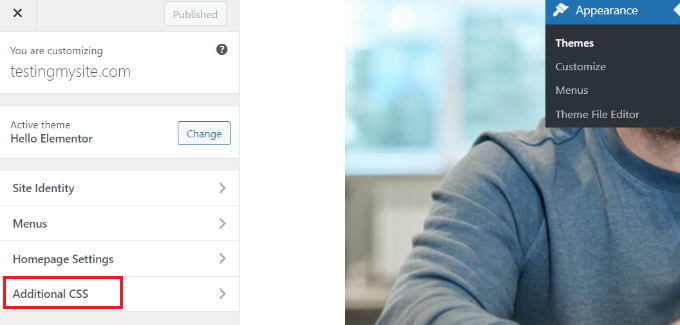
The tab will slide down to show you a simple box where you can add custom CSS.
Once you have added a valid CSS rule, you will be able to see it applied to the live preview pane of your website.
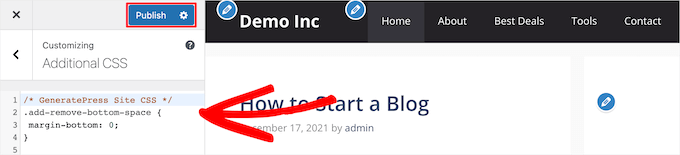
You can keep adding custom CSS code until you are satisfied with how it looks on your site.
Don’t forget to click the “Publish” button at the top when you’re done.
Note : any custom CSS you add using the theme customizer is only available with this specific template. If you want to use it with other templates, you will need to copy and paste it into your new theme using the same method.
The second : add custom CSS using the plugin
The first method allows you to save only the CSS intended for the currently active theme. If you change the theme, you may need to copy and paste your custom CSS into the new theme.
If you want to apply custom CSS no matter which WordPress templates you use, this method is for you.
The first thing you need to do is install and activate the simple Custom CSS plugin . If you need help, please check out our guide on how to install the WordPress plugins .
When activated, just go to the Theme “Custom CSS and type or paste custom CSS.
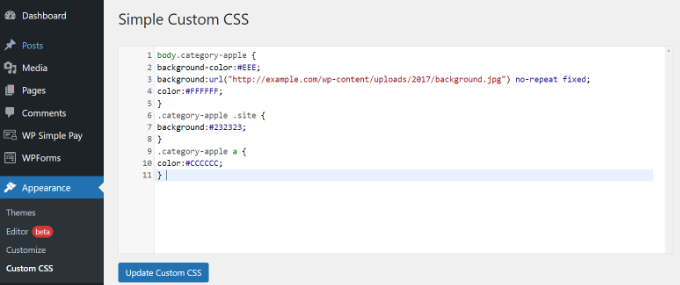
Do not forget to press the “Update Custom CSS” button to save the changes.
Now you can view your WordPress site to see the custom CSS in progress.
The third : add additional CSS using the full site editor (FSE)
Another way you can add custom CSS in WordPress is to use the full site editor (FSE). With FSE, you can edit the entire website layout and design using the WordPress template editor, just like when editing a blog post or page.
Using an extension to add CSS is a little easier. However, if you prefer not to use an extension, we’ll show you how to access the customization tool even when it’s not available in your Admin menu.
All you have to do is log in to your WordPress administrator.
After that, just copy the address URL below and paste it into your browser, replacing “example.com” the name of your website domain .
|
1 |
https://example.com/wp-admin/customize.php |
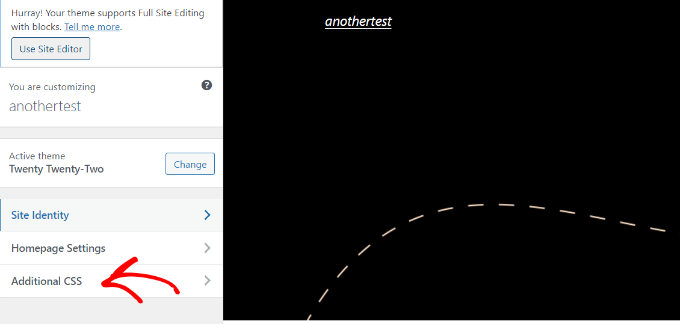
This will take you to a limited version of the theme customization tool. In the menu on the left, you will see the option to add custom CSS at the bottom.
Just click on the “additional CSS”tab.
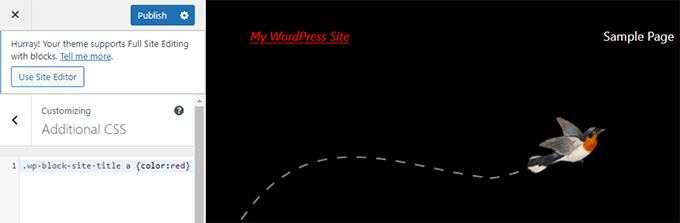
Now go and enter your CSS code under the additional CSS area.
After adding the code, just click the “Publish”button.
Using a custom CSS plugin versus adding CSS in the theme
All of the above methods are recommended for beginners. Advanced users can also add custom CSS directly to their themes.
However, it is not recommended to add custom CSS snippets to your original theme. CSS changes will be lost if you accidentally update the theme without saving the custom changes.
The best way is to use a sub-template instead. However, many beginners do not want to create a sub-theme. Apart from adding custom CSS, beginners often don’t really know how they will use this sub theme.
Using a custom CSS plugin allows you to store custom CSS independently of your template. This way, you can easily switch themes, and the custom CSS will still be there.
Another great way to add custom CSS to your WordPress site is to use the CSS Hero extension . This great add-on allows you to edit almost every CSS style on your WordPress site without writing a single line of code.
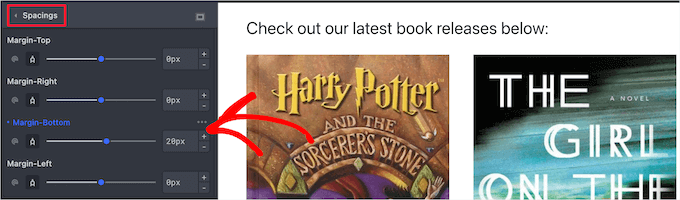
You can also add custom CSS using the SeedProd plugin .
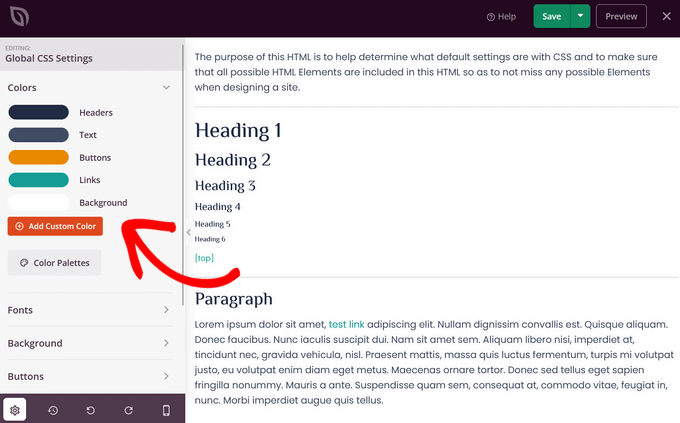
SeedProd is a drag-and-drop website builder that allows you to create custom WordPress themes and landing pages for your WordPress site. You can easily modify the general CSS settings, without the need for code.
We hope this article helped to add custom CSS to your WordPress site.