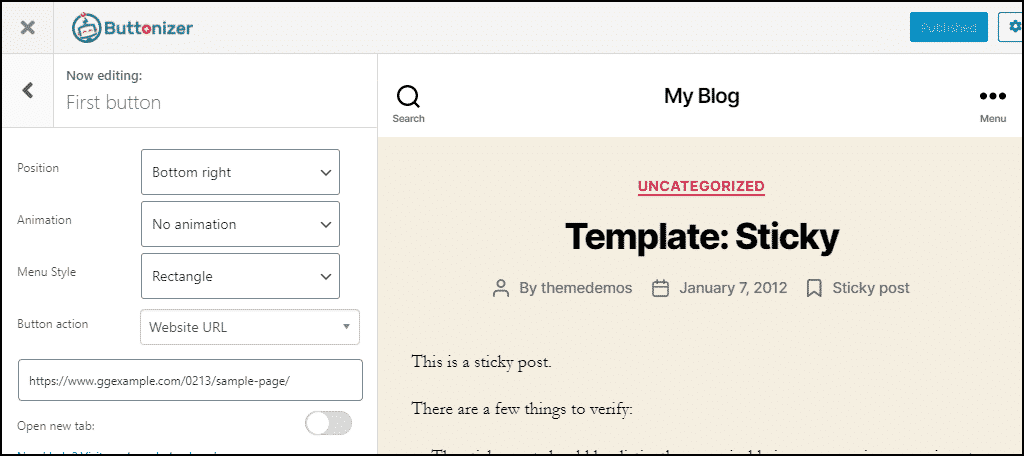
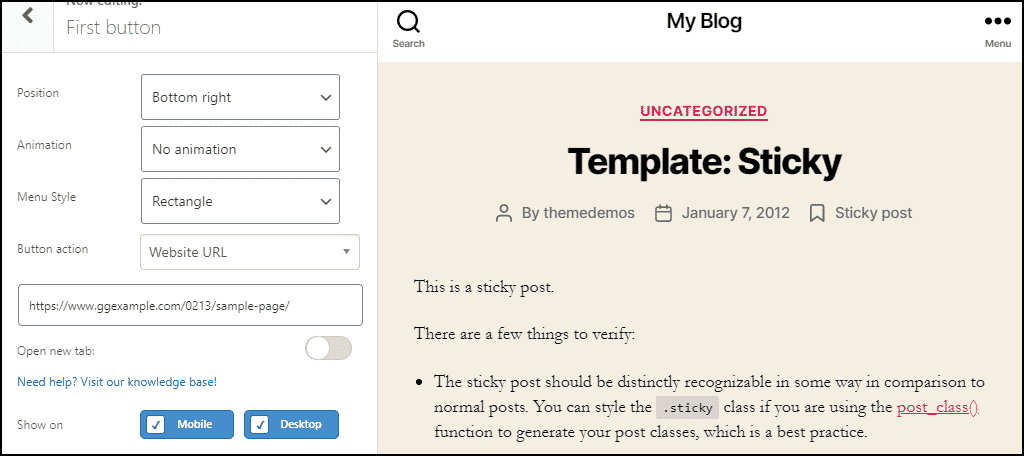
Here you can set the button position, animation, style, movement, and whether the button appears on a desktop or mobile screen, or both.Let’s go through each of the options.
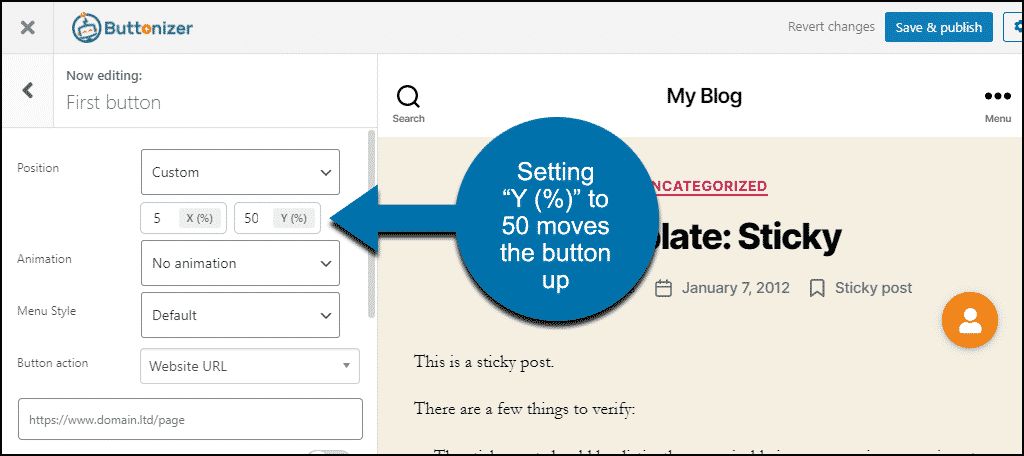
In addition, you can see that the button has moved to the middle of the right side of the page.By changing the X and Y axis values, you can place the button wherever you want on the page.
Button movement :
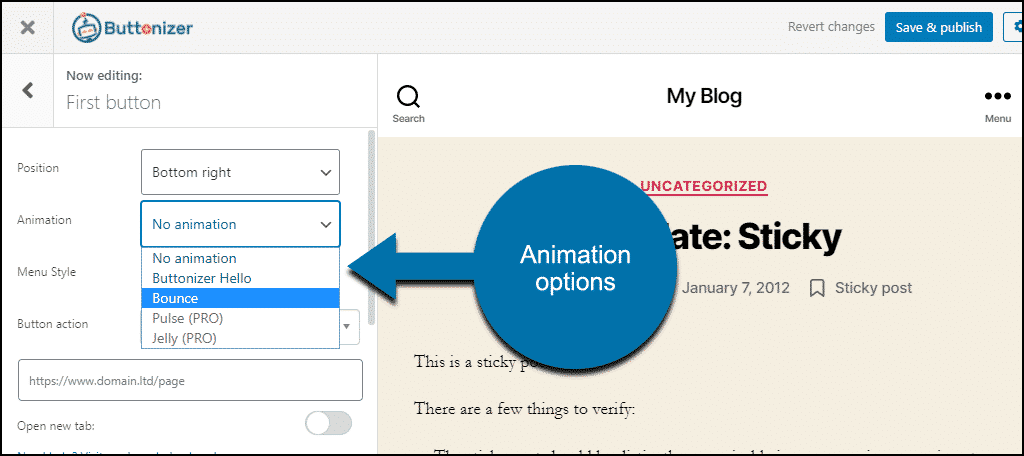
There are two animation options in the free version of the plugin.They both run every 8 or 10 seconds to draw attention to the button.
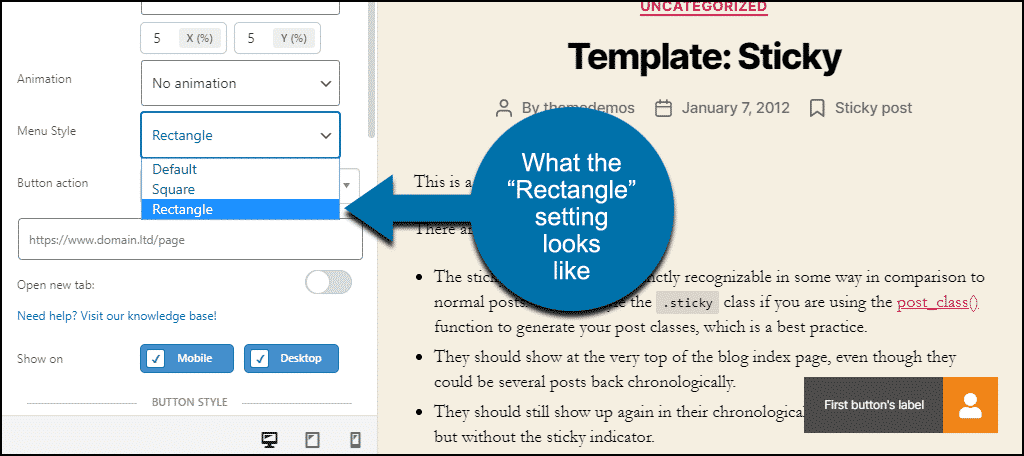
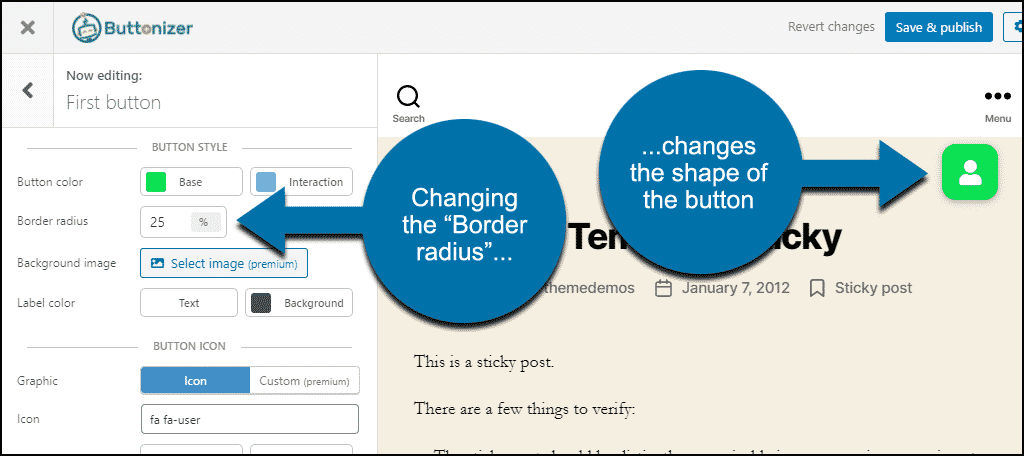
The shape or style of the button :
The style changes the button from round (or default) to square or rectangular.
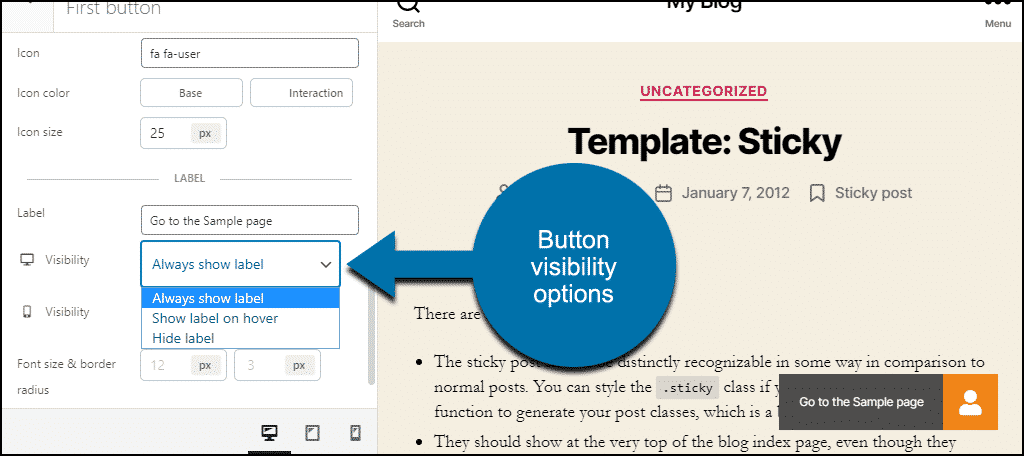
If you choose the rectangle, the button label will appear next to the button.
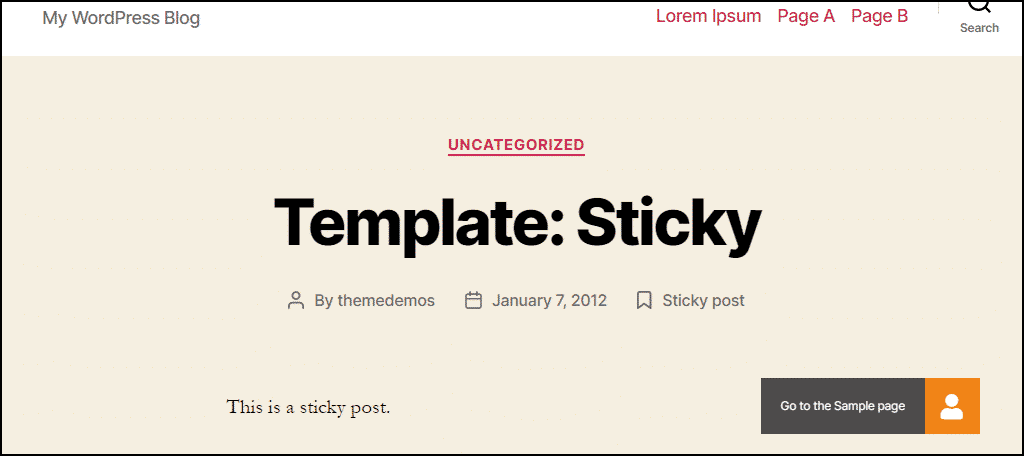
floating invitation button
Button action :
Action Action: This is where you choose what the button does.
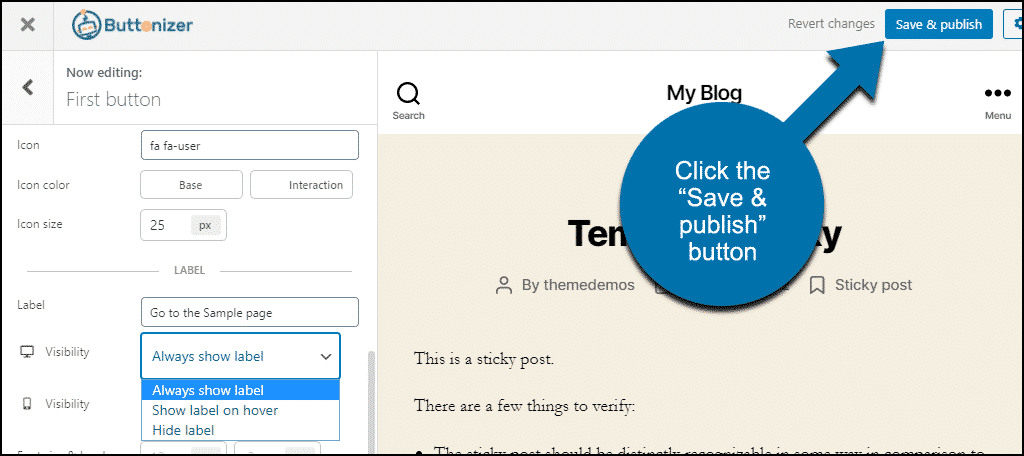
Now I will click on the “Save and Publish” button, and the button will be visible on the website.When I scroll the page the button stays in position.No matter where the visitor is on a particular page, the button is always there with them.
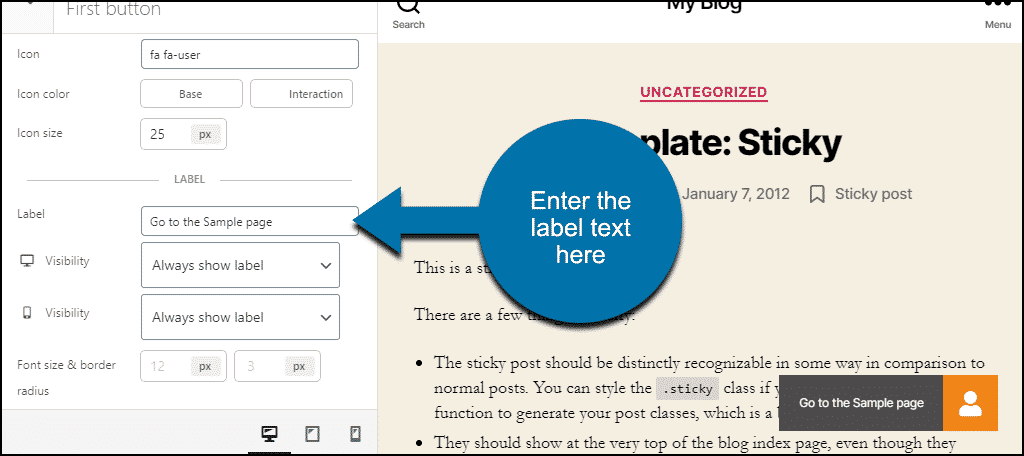
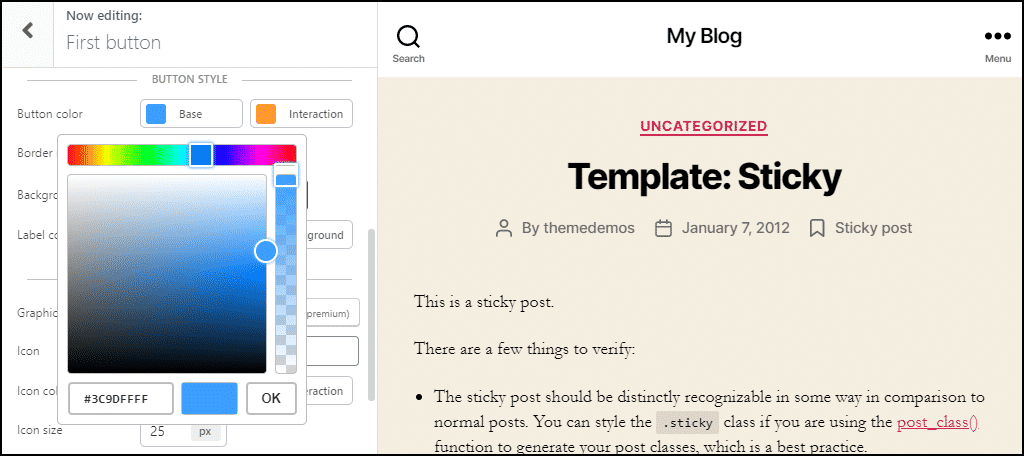
The label color setting controls the background and text colors if you display the button label. Also, the button icon section, the “button icon” section, is where you specify the graphic shape on the button.
By default, the main button uses a symbol. By default, the main button uses the font “fa-user” superb icon. You can select a different icon for your button. Click in the Symbol field to open the symbol selector .
You can also scroll through icons or search through keywords.
Click an icon in the selector, and your button icon will change.
The Symbol Color section allows you to choose different icon colors for both Baseline and Interaction. By changing the colors here and in the Button Color section, you can create some interesting effects .
The Symbol Size setting controls the size of the symbol in the button.
Other features Floating Invitation button
Button Work setting is where Buttonizer shows its capabilities.
Do you want to drop a floating WhatsApp button on your WordPress site?
Choose WhatsApp Chat in the action button, and enter your WhatsApp number, so you’re done.
Choose Social Sharing in the Action Button, and there is a wide range of social networking sites available. By adding buttons for each location you want visitors to participate in, you can create your own floating social sharing panel.
There are many options in Buttonizer, many of which are available when using the free version of the assistive software.
Often, paid-in plug-ins hide all their cool features from free users. But Buttonizer doesn’t.
Benefits of a floating invitation button call to induce action :
The benefits of a chat button that urges the user to take action or a click to connect button are clear. The “Previous Page” or “Back to Top” buttons are also phrases that urge the user to take action, though not in a marketing sense.
But they benefit visitors to your site in other ways.
Let’s face it, there’s a phrase that urges the user to take action primarily to benefit the site owner. It’s there to attract visitors to buy your product or interact with you directly (until they finally buy your product).
If the Get Action button or link is static at the bottom of a text page, many of your visitors will never see it. So the phrase “urged” floating or “pending” action has the advantage of always being visible. A visitor can take action at any time.
To provide the best experiences, we use technologies like cookies to store and/or access device information. Consenting to these technologies will allow us to process data such as browsing behavior or unique IDs on this site. Not consenting or withdrawing consent, may adversely affect certain features and functions.
Functional
Always active
The technical storage or access is strictly necessary for the legitimate purpose of enabling the use of a specific service explicitly requested by the subscriber or user, or for the sole purpose of carrying out the transmission of a communication over an electronic communications network.
Preferences
The technical storage or access is necessary for the legitimate purpose of storing preferences that are not requested by the subscriber or user.
Statistics
The technical storage or access that is used exclusively for statistical purposes.The technical storage or access that is used exclusively for anonymous statistical purposes. Without a subpoena, voluntary compliance on the part of your Internet Service Provider, or additional records from a third party, information stored or retrieved for this purpose alone cannot usually be used to identify you.
Marketing
The technical storage or access is required to create user profiles to send advertising, or to track the user on a website or across several websites for similar marketing purposes.