
Do you want to automatically post articles to Facebook through your WordPress site ?
Facebook is one of the largest social networking sites in the world with more than 2 billion active users. The process of automatically posting articles on Facebook will increase the site’s views and attract traffic to it .
In this article, we will show you how to automatically post to Facebook when you publish a new article on WordPress .
Why automatically share WordPress posts to Facebook ?
The easiest way to create to keep in touch with your users is to send articles through an email list . However, we cannot ignore the huge user base of social media websites like Facebook .
After you post on Facebook, you will need to interact with users to build a strong following. This means replying to comments, sharing content, and posting regular updates to articles on Facebook.
How to easily post to Facebook when publishing a new post in WordPress using Uncanny Automator
Uncanny Automator : It is the best WordPress automation plugin that helps in creating automated workflows without writing any code.
It connects with an over 50 plugins and thousands of apps, including Facebook, Google Drive, Slack, Asana, Twitter, Instagram, and more.
A free version is available and gives you 1,000 free credits to use with Facebook . Once this credit runs out, you will need a Pro account or higher to continue posting automatically to Facebook .
- The first thing you need to do is install and activate the Uncanny Automator add-on. For more details, see How to step by step to install plugins in WordPress.
- Upon activation, you will also be asked to install the free version of Uncanny Automator. This lite version of the plugin is limited in features but serves as the basis for the Pro version.
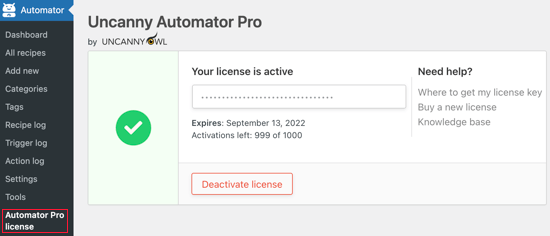
- Next, you need to go to the Automator » License Activation page to enter your license key. You can find this information under your account on the Uncanny Automator website.
How to connect your Facebook page to Uncanny Automator
Before you start creating your Facebook automation, you’ll need to connect your Facebook page to Uncanny Automator.
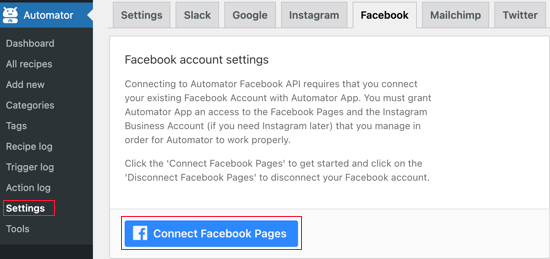
To do this, go to Automator » Settings and click on the Facebook tab . Once you get there , you will need to click on the Connect Facebook Pages button .
After clicking on this button, a pop-up will appear where you can login with your Facebook account.
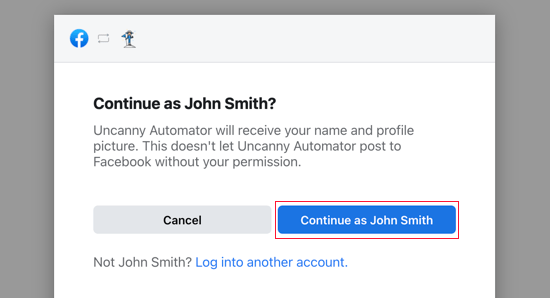
Once you’re signed in, you’ll be asked if you want to continue and allow Uncanny Automator to see your profile. You will need to click the “Continue As” button.
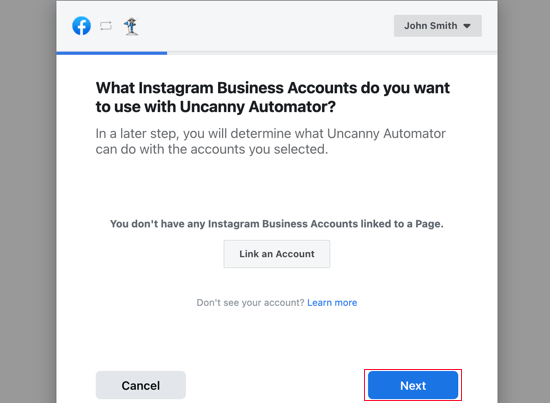
Next, you will be asked if you want to link your Instagram account with Uncanny Automator. You might want to do this if you plan to create automated workflows with Instagram as well .
In our case here, we’ll just click on the “Next” button .
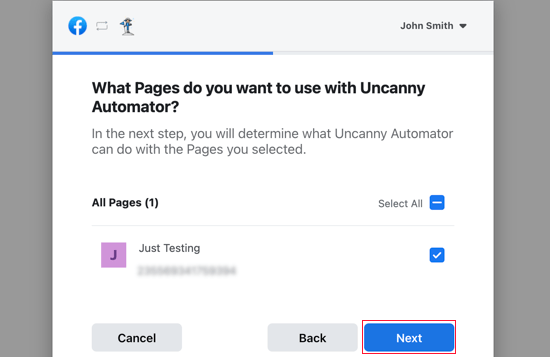
You will then be shown a list of your Facebook Pages. You need to select the page on which you want to post and then click the “Next” button .
After doing that, you will be asked to give Uncanny Automator permission to do certain settings with your Instagram account and Facebook page .
You need to answer yes to the options related to the Facebook page, after which you should click on the Done button.
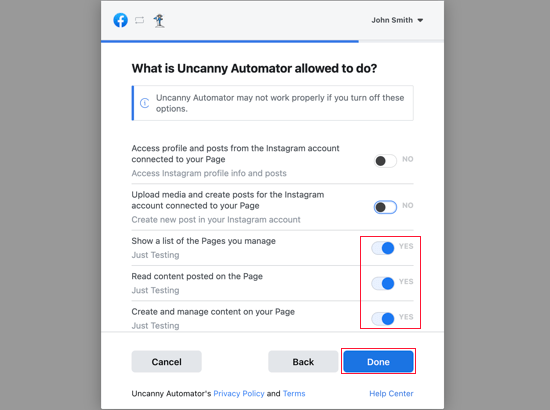
You should answer yes to Instagram options too if you are planning to create Instagram automation with Uncanny Automator .
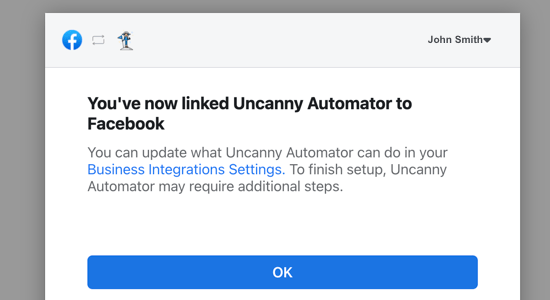
Uncanny Automator is now linked to Facebook and you must click the OK button to finish setup .
Post automatically to Facebook from Uncanny Automator
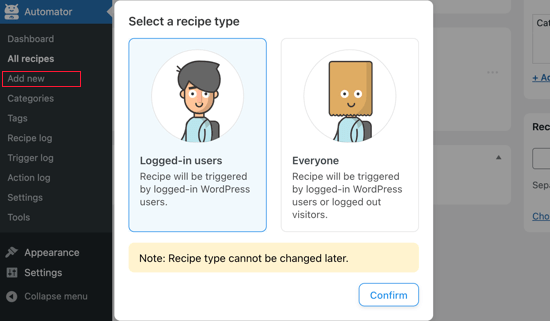
Now we are ready to create an automated Facebook post. Uncanny Automator calls this process “recipe”. Simply go to the Automator » Add New page to create your first recipe.
It will prompt you to select whether you want to create a “signed in” or “everyone” recipe .
You must select ” Users logged in ” and then click on the ” Confirm ” button .
Start creating your first recipe on Uncanny Automator
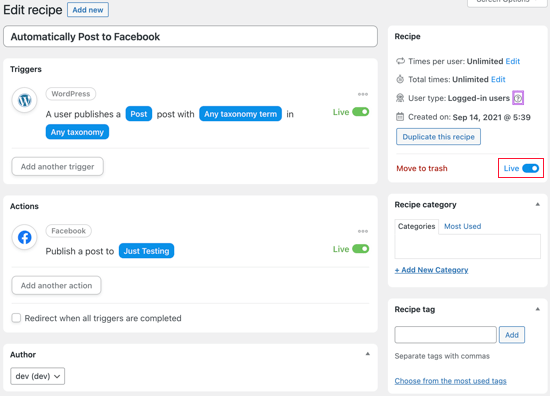
First, you will need to add an address. We’ll call the recipe “Automatically Post to Facebook” and write this in the Title field .
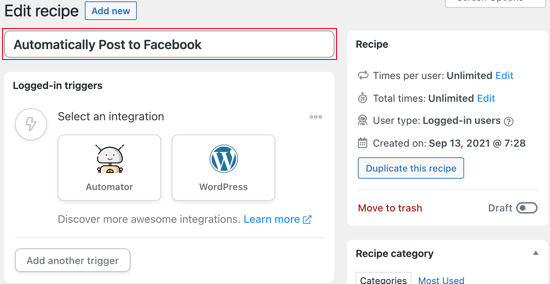
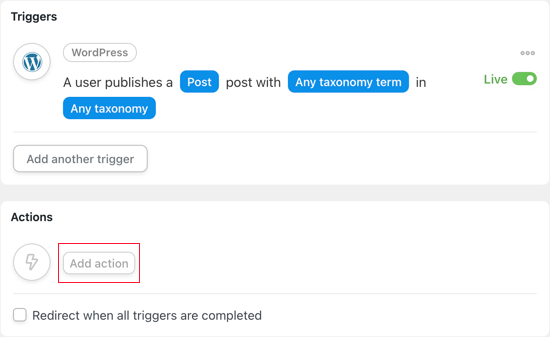
Next, you need to define the condition that will trigger the action. We want to publish to Facebook when the article is posted to WordPress immediately. For that you will need to click on the WordPress icon under Select Integration.
You will now see a list of WordPress launchers. You have to search for ” Publish ” and choose the trigger called ” User posts some type of post with a taxonomy term in the taxonomy ” .

In this article, we want to post to Facebook when we publish a blog post, not a page. So we will change the post type to post and leave the other settings unchanged. Don’t forget to save your settings by clicking on the Save button.
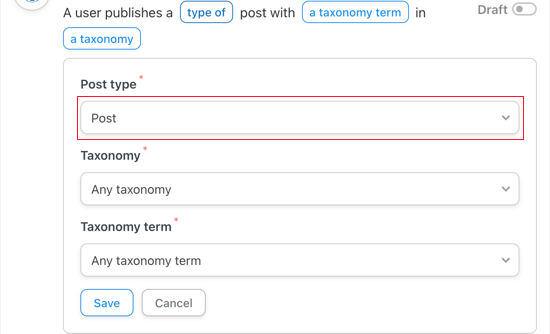
If you only want to post certain types of content to Facebook, you can choose a single category or tag by selecting the appropriate options from the category and rating term drop-down lists.
Next, you will need to choose the action that will occur each time an article is published. Start by clicking the Add Action button .
You should now see a list of integrated services supported by Uncanny Automator
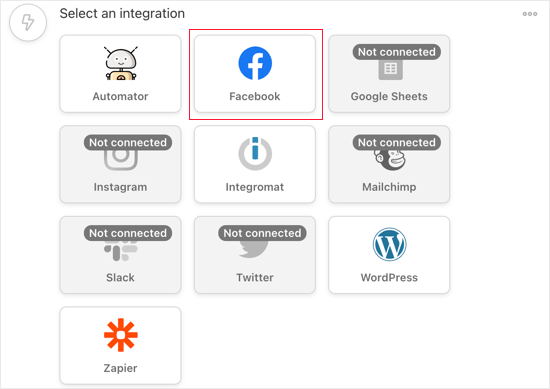
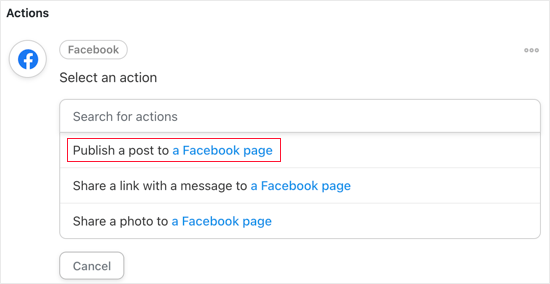
Now you will see a list of Facebook actions. You have to select the option that says “post articles to Facebook page”.
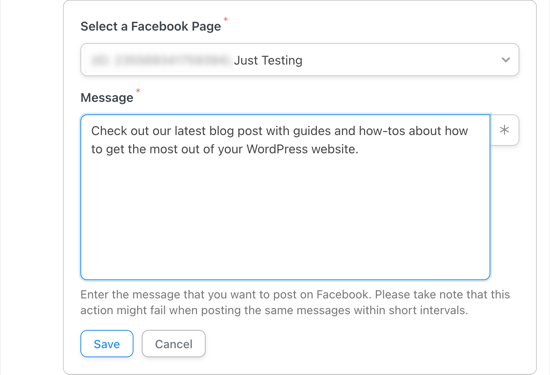
If you have connected to more than one Facebook Page, you will need to select the Page you wish to post to.
Next, you have to type the message in the text box of the message you wish to post on your Facebook page .
Next, you need to add the post title and URL to the message. You need to press the Enter key to start a new line, after which you should click on the asterisk button to the right of the message text box.
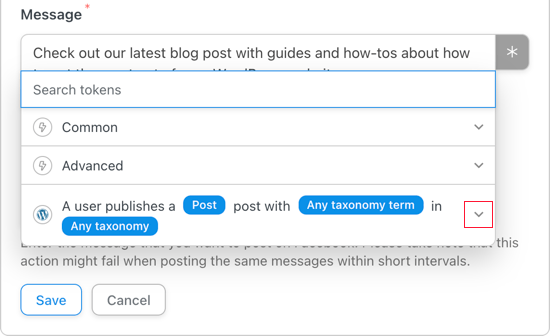
Now you need to click on the down arrow icon next to “User Post Article” to access the fields that add information about the published post.
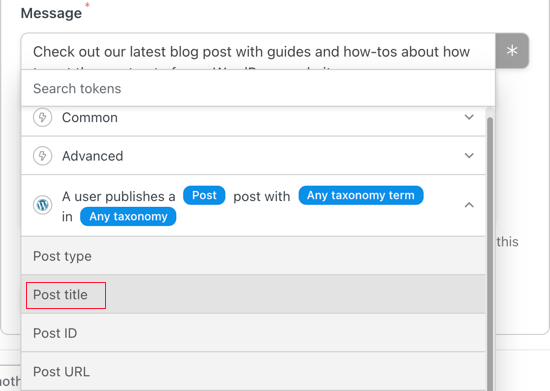
Available tokens include post type, title, post URL, content, and more. You must click on the “post title” to include it in the message.
Follow the same steps to add the URL of the post to its own line. The message should now look something like the image below, and you can customize it to suit your WordPress site and Facebook page.
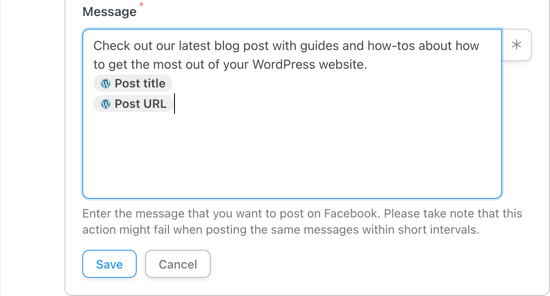
Don’t forget to click the “Save” button to store your action.
Publication schedule :
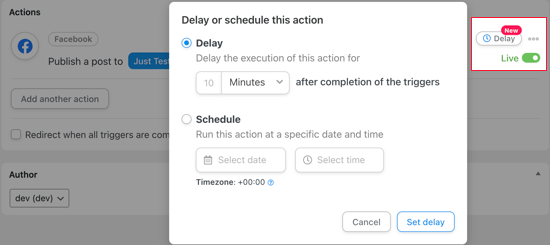
You can set an added delay before Uncanny Automator post articles to Facebook . This way you can schedule the article to be published when your social media audience is large.
You need to hover the mouse over the Live button on the right so that the Delay button appears. Once you click on it, and you will be able to choose whether the action will run after a time delay or on a specific date and time.
Now your recipe is complete but not active. The trigger and action are set, but they won’t fire when a new post is made. To change that, you need to toggle the switch from Draft to Live.
Finally : Now that your recipe is live, the next time you publish a post on your WordPress site, a message will also be published on your Facebook page.